Baldur’s Gate 3 – How To Romance Lae’zel
Baldur’s Gate 3 has a grand total of eight romanceable characters–12 if you count Haarlep, The Emporer, and the drow twins–but one of the most memorable potential romance partners is easily Lae’zel, a green-skinned githyanki fighter who players bump into mere minutes after starting the game.
Though she initially comes off as impatient and prickly, Lae’zel can grow to respect–and eventually love–the player-character. If you’ve developed a fondness for the fierce, fiery warrior, we’ve got you covered. Keep reading for a guide to winning Lae’zel’s heart (without finding yourself on the pointy end of her sword).
Table of Contents [hide]
How To Romance Lae’zel In Baldur’s Gate 3
Recruitment
Lae’zel is the first character you’ll meet when you start playing Baldur’s Gate 3, and recruiting her is extremely easy. Make your way through the Nautiloid until you trigger a cutscene in which Lae’zel appears, ready to cut you to ribbons. Once she realizes you both share the same breed of Illithid parasite, Lae’zel will suggest you travel together. Take her up on this offer and she will officially join your party. You’ll also bump into Shadowheart here, and though Lae’zel voices her disapproval, recruiting Shadowheart doesn’t actually affect Lae’zel’s approval score.
Approval and disapproval
Eager to prove herself to both her god and her fellow gith, Lae’zel holds a deep fondness for githyanki culture, and will generally approve of behavior that shows the player-character respects her beliefs. She disapproves of displays of weakness or unearned trust, preferring a partner who is assertive and not afraid to intimidate those around her.
That said, one of the most interesting things about Lae’zel is that, unlike Shadowheart, she’ll often approve when the player-character challenges her beliefs or otherwise stands up to her. Asserting dominance will often earn you more approval than simply going along with what Lae’zel wants.
Act 1: Night(s) of passion
It’s worth noting that unlike most other companions, Lae’zel’s romance will be closed off to players who have kissed other companion characters before triggering Lae’zel’s first romance scene, so if you’ve got your eye on her, you’ll want to shut down any potential romances with other characters, at least until Lae’zel approaches you to discuss your shared attraction.
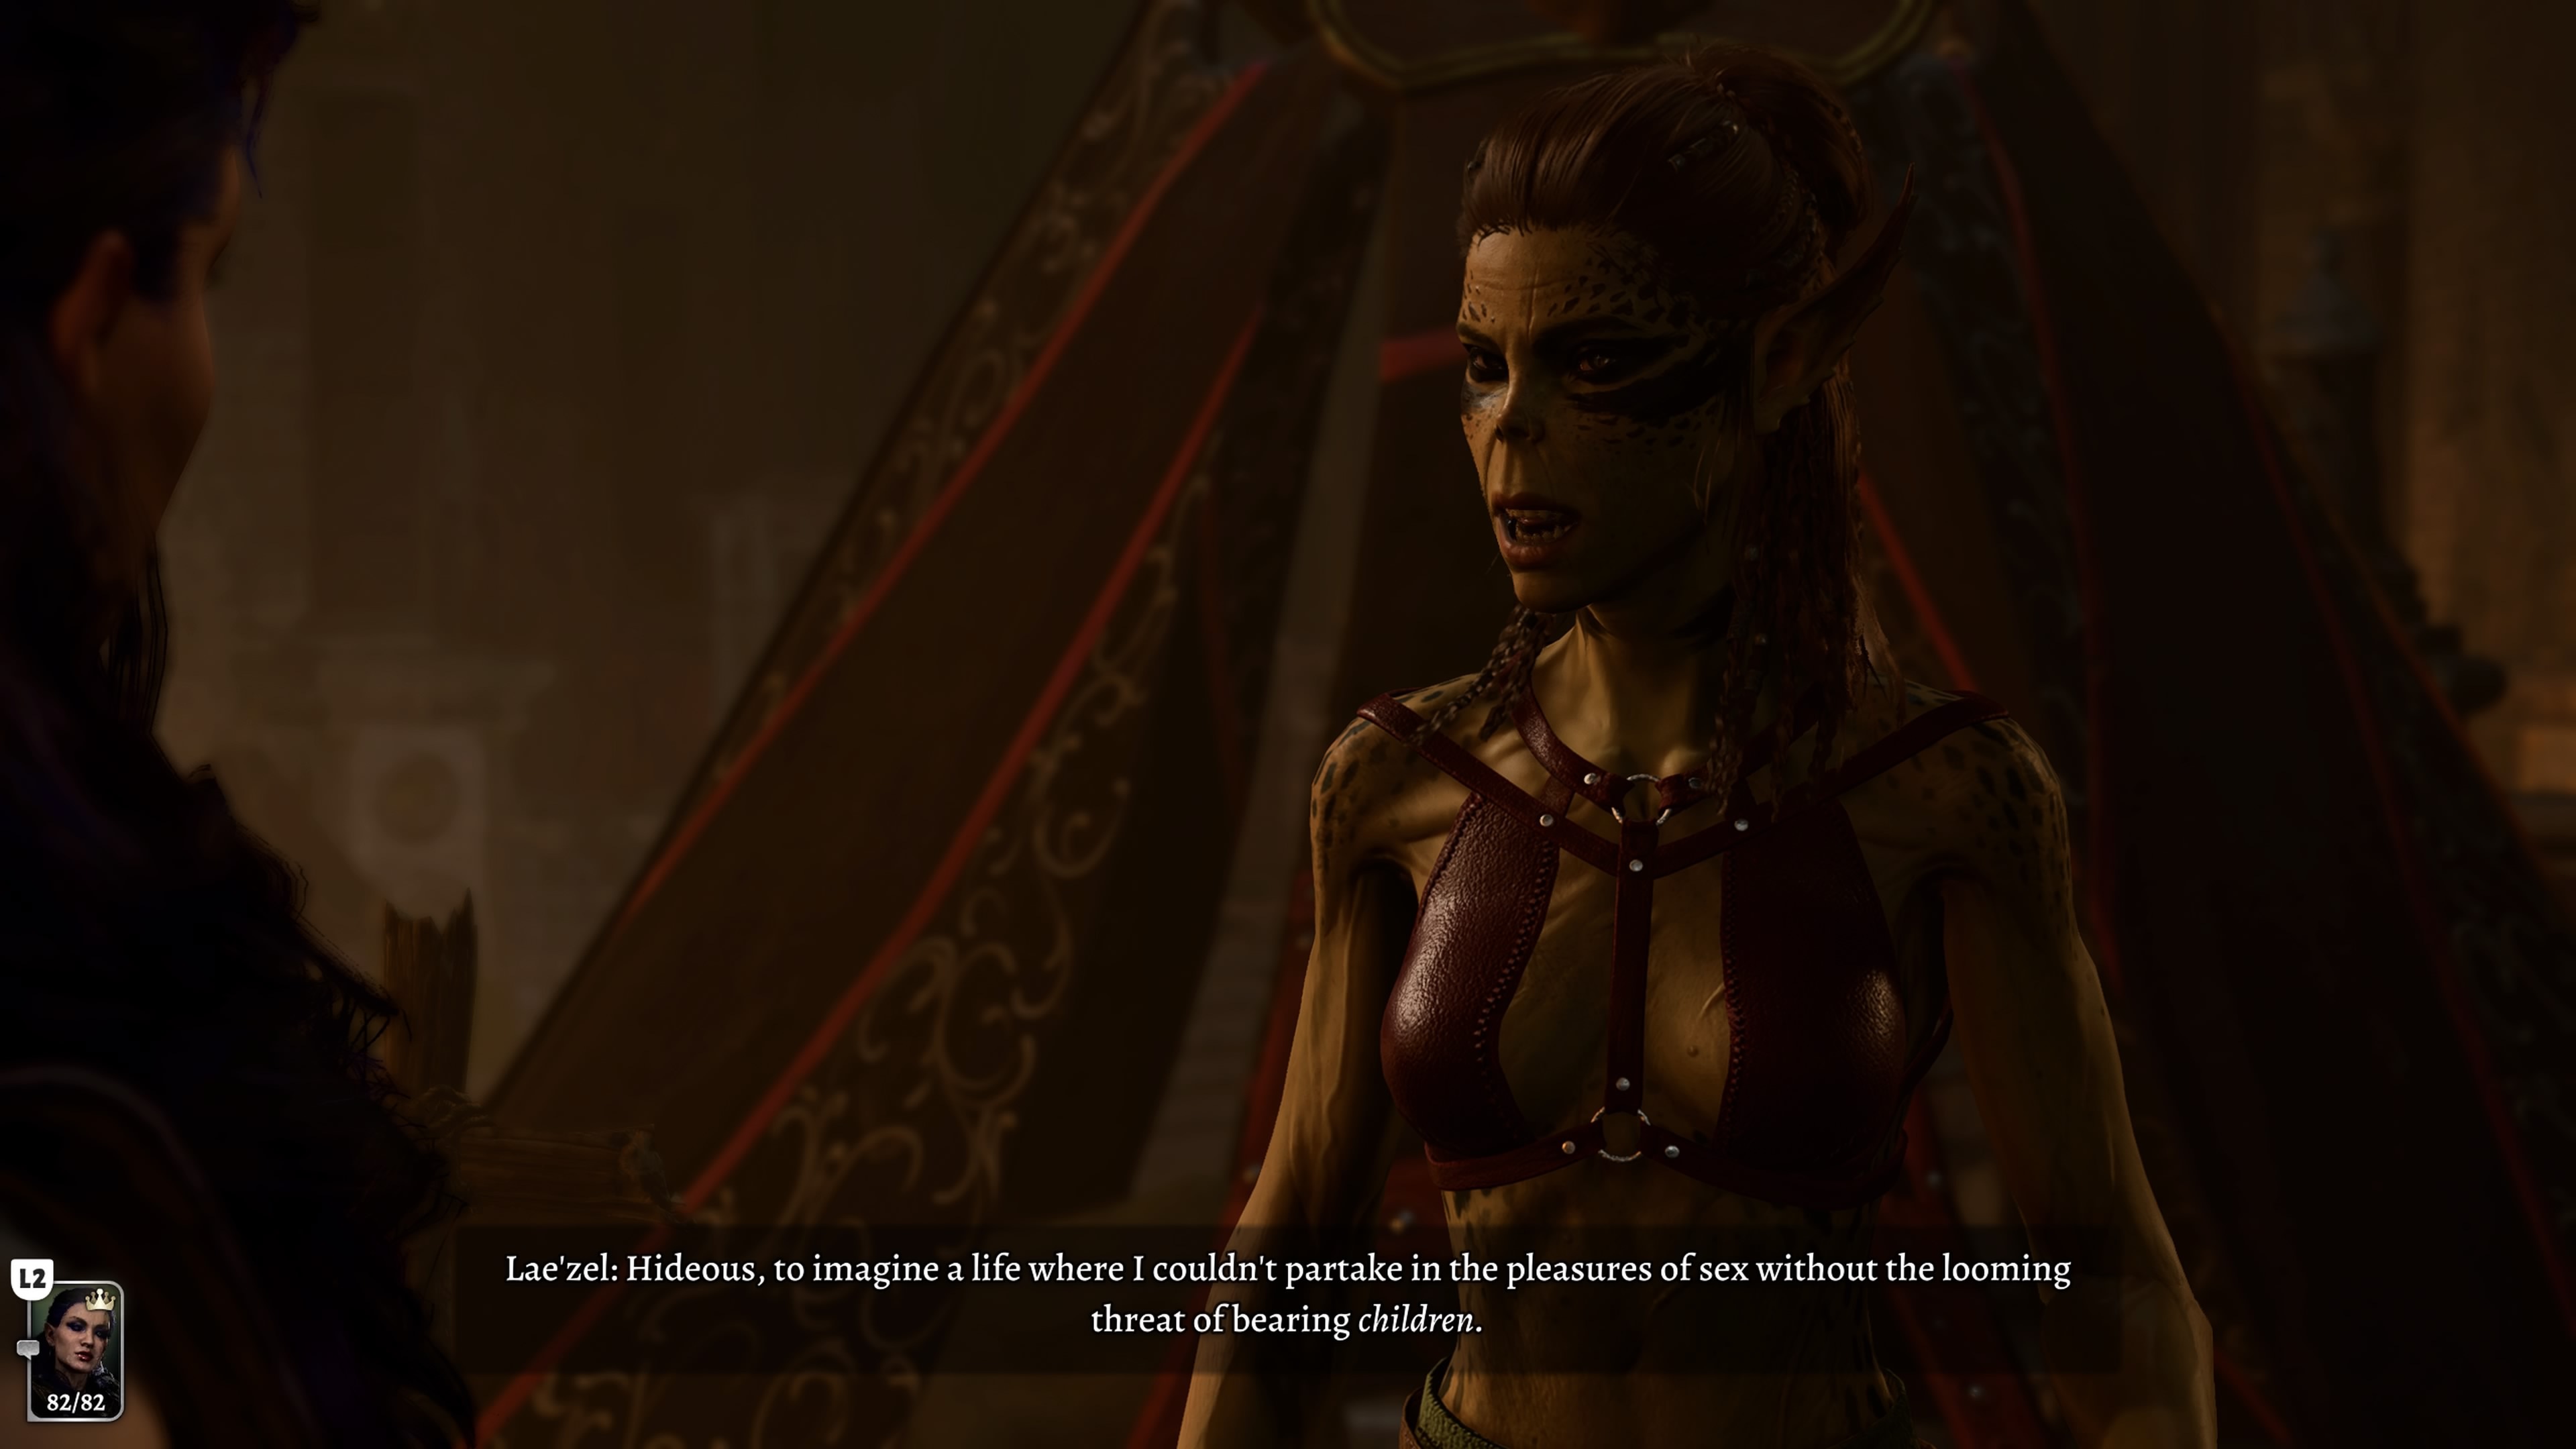
While some companions won’t get intimate until the player has gained a significant amount of approval, Lae’zel is quite the opposite. As soon as her approval score hits Medium (20), she’ll approach the player and offer to join them in bed. Despite coming onto the player so quickly, she will also make it very clear that she doesn’t equate sex with love. Players who want more than a fling will have to put some work in.
Later, after the initial encounter, Lae’zel may point out that the player has been looking at her differently as of late, and can be convinced to engage in another no-strings-attached night of mutual passion (though this one will take place off-screen).
Crèche Y’llek
Once players have made their way through the majority of Act 1, they’ll come across Crèche Y’llek, the potential source of tadpole removal Lae’zel’s been chasing since the moment you met. As you get closer to the crèche (which is actually just a repurposed house of prayer called Rosymorn Monastery), Lae’zel will inform you that you need to get a move on, saying she’ll go find the crèche herself if you take too long. You don’t necessarily need to rush to the crèche, however, as Lae’zel will only leave the party if they attempt to enter The Shadow-Cursed Lands without first visiting the crèche. Still, it’s important to keep this in mind, as once she leaves your party to go find the crèche, she’ll be killed, and even Withers will be unable to revive her.
As you approach Rosymorn Monastery, you may run into a woman who works for an organization called The Society of Brilliance. She’s looking to get her hands on a githyanki egg, as she wants to prove her hypothesis: Githyanki aren’t violent by nature, and raising one away from other gith will result in a calm, kind, nonviolent gith child.
Naturally, Lae’zel is disgusted by this. If you’re romancing her, stealing a gith egg for the Society of Brilliance isn’t a good idea, as you can lose a great deal of approval when you steal the egg (depending on how you go about it), and will lose more approval when you hand the egg over. Instead, we suggest either tricking the woman into accepting an owlbear egg (assuming you picked one up from the owlbear’s cave), or turning down the offer altogether.
The zaith’isk
Sadly, just like every other attempt at removing the tadpole from your skull, making use of the gith deworming apparatus does not successfully take care of your tadpole problem. It can, however, give you a useful power: the ability to use Illithid Powers as bonus actions rather than standard actions. This can be massively useful in combat, and though you’ll have to pass some difficult skill checks, it’s worth it in the end.
Lae’zel will demand you let her use the machine first, but doing so can lead some of her stats getting permanently decreased, so it’s a better idea to use the zaith’isk yourself. Lae’zel may disapprove, but it’s for her own good.
Vlaakith
When encountering the Lich Queen Vlaakith near the end of the crèche questline, keep in mind that Lae’zel respects you for challenging her beliefs–and that extends to her religious beliefs, too. This particular encounter includes some major plot spoilers, so suffice it to say that when it comes to approval, not siding with Lae’zel and her queen is the better option.
Act 2: Crossed blades
Once you’ve completed the main quest at the crèche, increased your approval score, and entered The Shadow-Cursed Lands, a cutscene will eventually play when you go to take a long rest. You’ll awaken to an angry Lae’zel, who is absolutely furious, because she can’t get you off of her mind. This scene is adorable… or it would be, if she didn’t promptly grab her weapon and challenge you to a duel immediately after saying it.
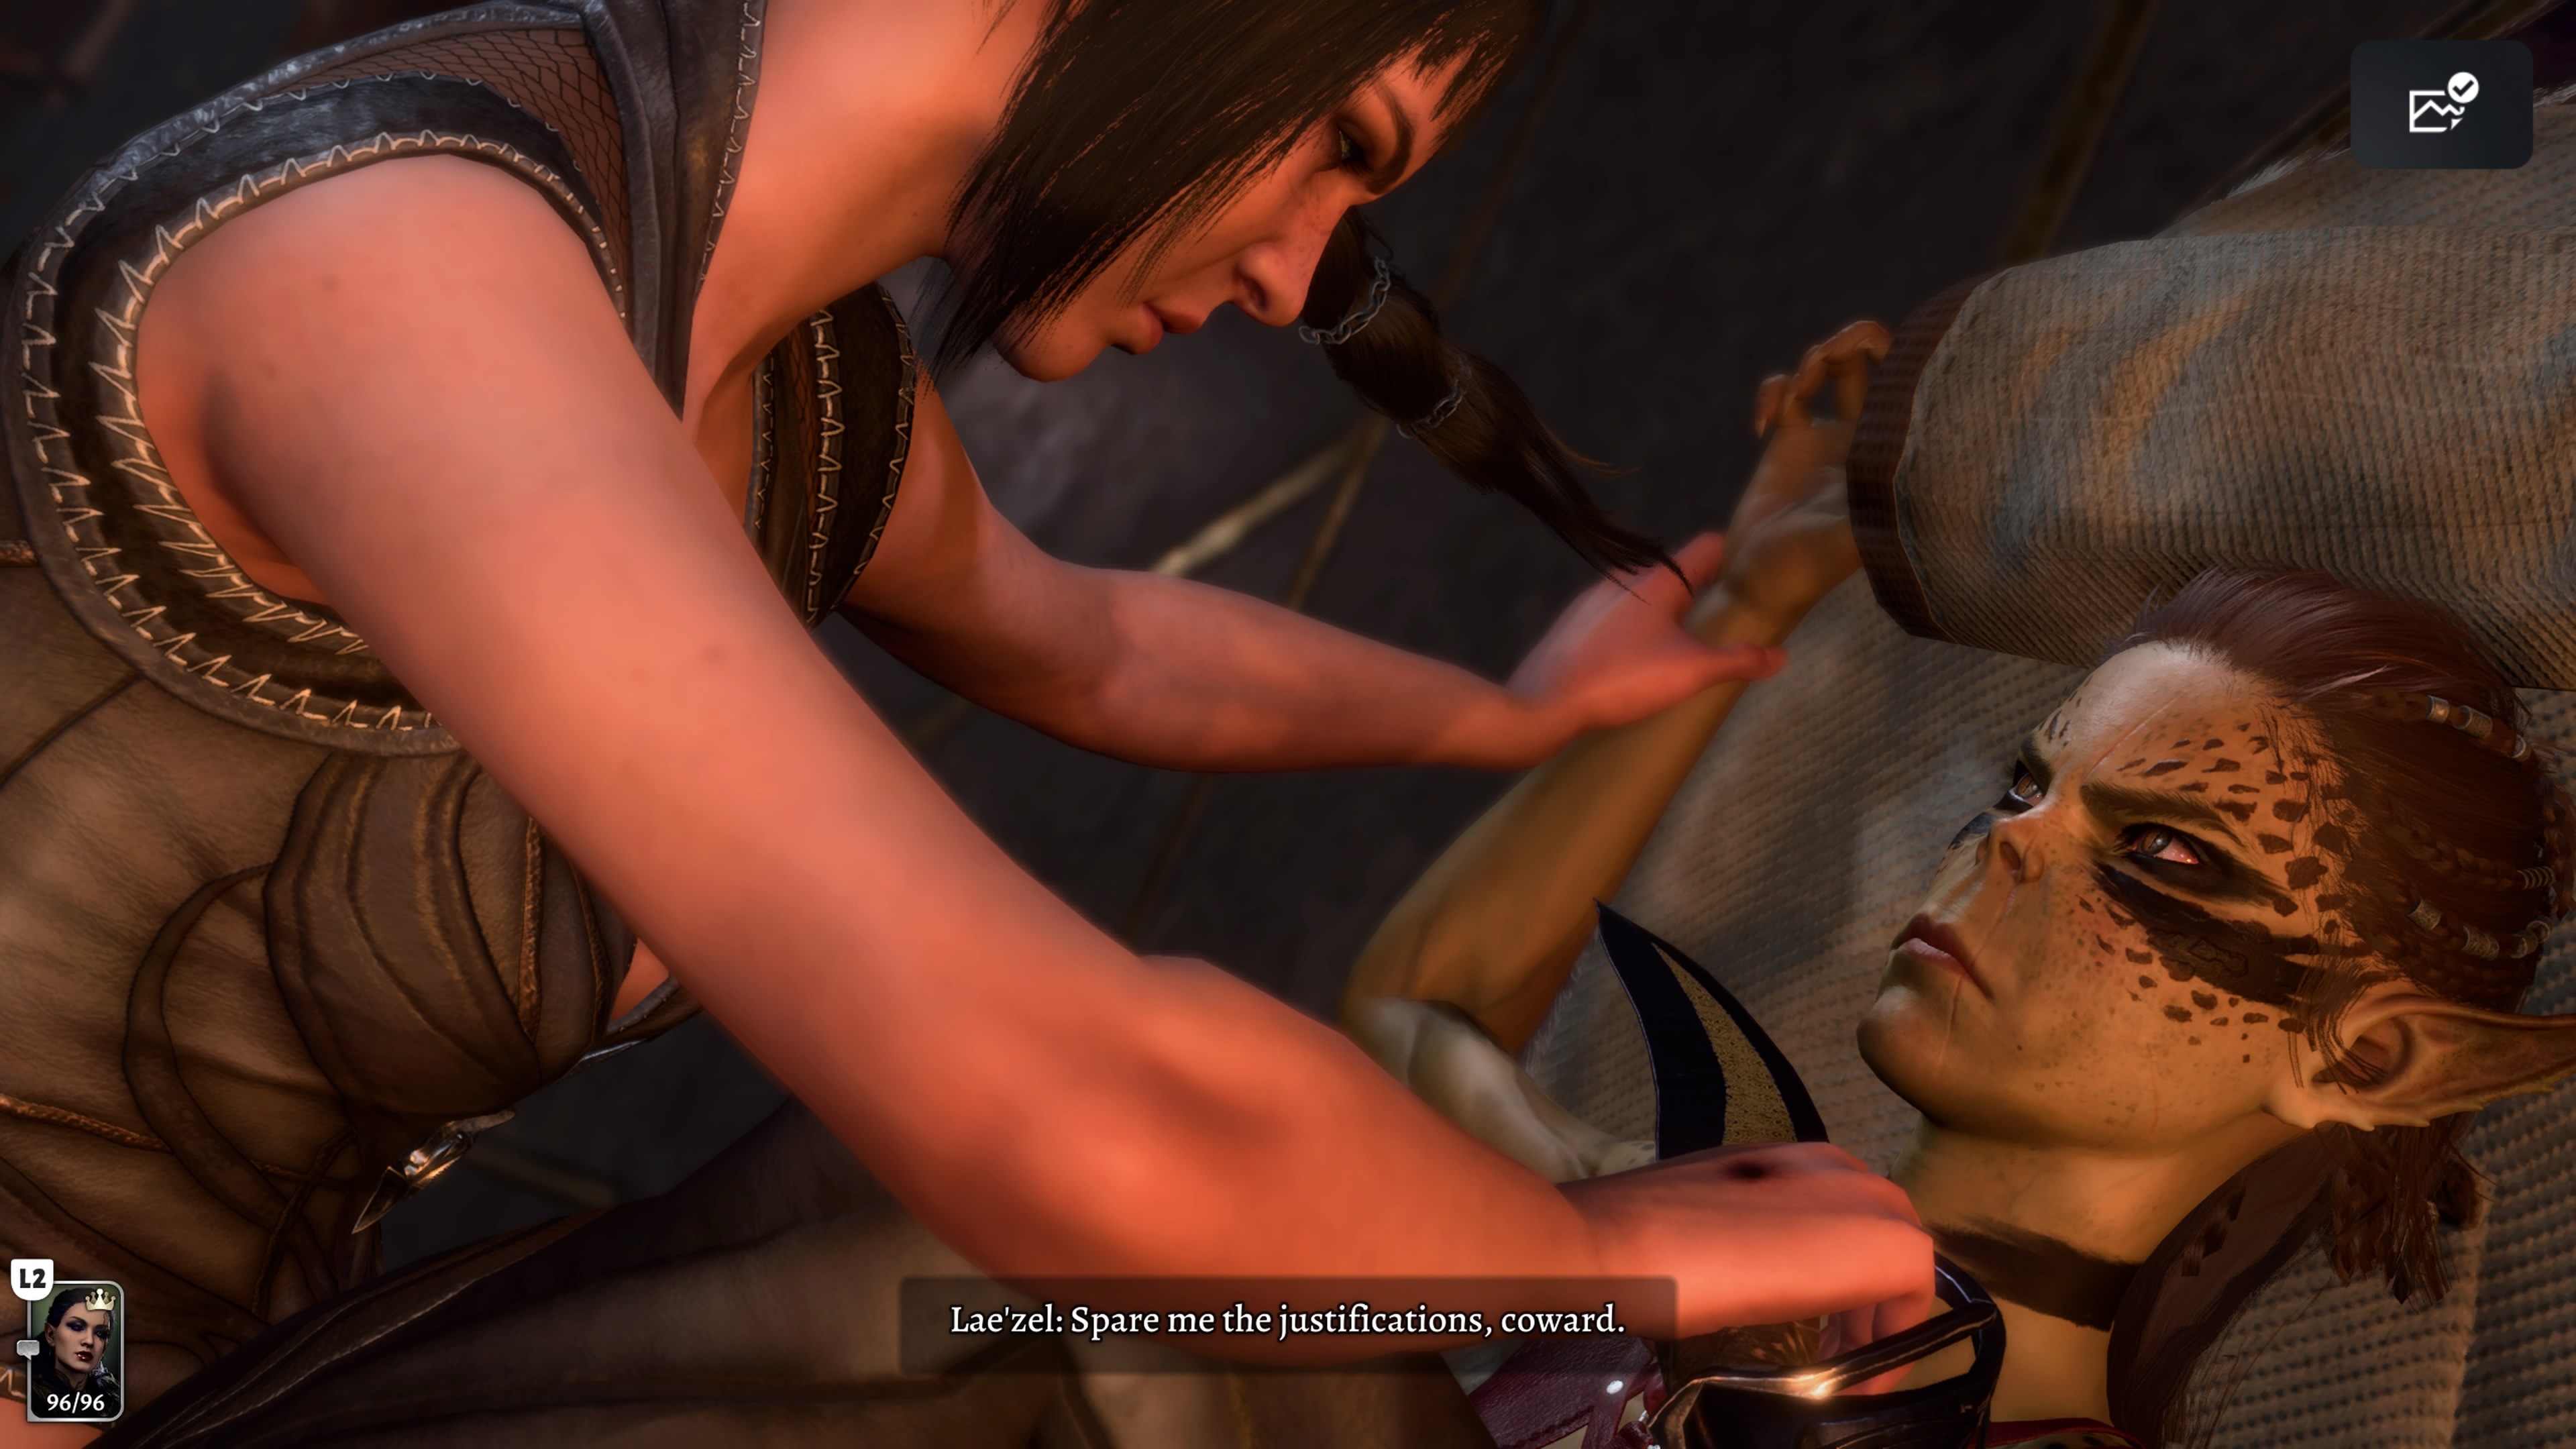
Angry that she’s fallen for you, Lae’zel will initiate combat and demand that you prove yourself worthy of her. The fight will end when one of you reaches a low amount of HP. Lae’zel may make disapproving remarks if you heal, use scrolls and other magic, or make use of potions/elixirs during the fight, but this will not affect her approval, so don’t feel too guilty if you need to chug an enormous healing potion mid-battle.
If you win, Lae’zel will commend your prowess. If you lose, she’ll vow to protect you. Interestingly, the outcome of this battle has no effect on Lae’zel’s approval score, but it does signify that your relationship is now official. Unfortunately, this is far from the only time you’ll awaken to Lae’zel getting violent.
Talking it out
At some point during the first half of the game, you’ll awaken to her holding a knife to your throat, convinced that it’s too late for all of you to survive your Illithid parasites. She plans to kill you first before turning her blade on her fellow companions and then killing herself. Succeeding the skill check to peacefully talk her out of killing everyone is pretty vital if you plan to continue romancing her (and continue playing the game).
Later, you’ll wake up to see her and Shadowheart fighting each other. They’ll demand you choose between them, and if you can’t pass the skill check to persuade them both to stay, one of them will permanently leave the party either by walking out of camp, or being killed by the other party. Getting both Lae’zel and Shadowheart to stay is the best outcome, as losing either of them will also mean losing access to their quests and the XP you’ll earn from completing them.
Act 3: The battle
If you want to have a happily-ever-after ending for yourself and Lae’zel, you’ll need to destroy the Elder Brain, side with Orpheus, and ask Lae’zel to stay with you when prompted. However, if you or Orpheus have become Mind Flayers, Lae’zel will either end your romance, or leave to lead the gith in Orpheus’ place.
Romances with Non-Origin Characters and NPCs
- Drow twin scene: Lae’zel will say she doesn’t wish to share or be shared, and will disapprove of the player engaging in the act against her wishes.
- Emperor romance: Amusingly, players who manage to romance The Emperor will always be caught by their companions. Despite how disgusted everyone looks, getting caught with The Emperor will not have any effect on approval from any companions, including Lae’zel.
- Haarlep scene: Lae’zel will disapprove of the player sharing a bed with Raphael’s pet incubus, but she end the relationship over itl.
- Halsin romance: If Halsin expresses interest in the player, Lae’zel will object. As previously stated, she doesn’t like to share her toys.
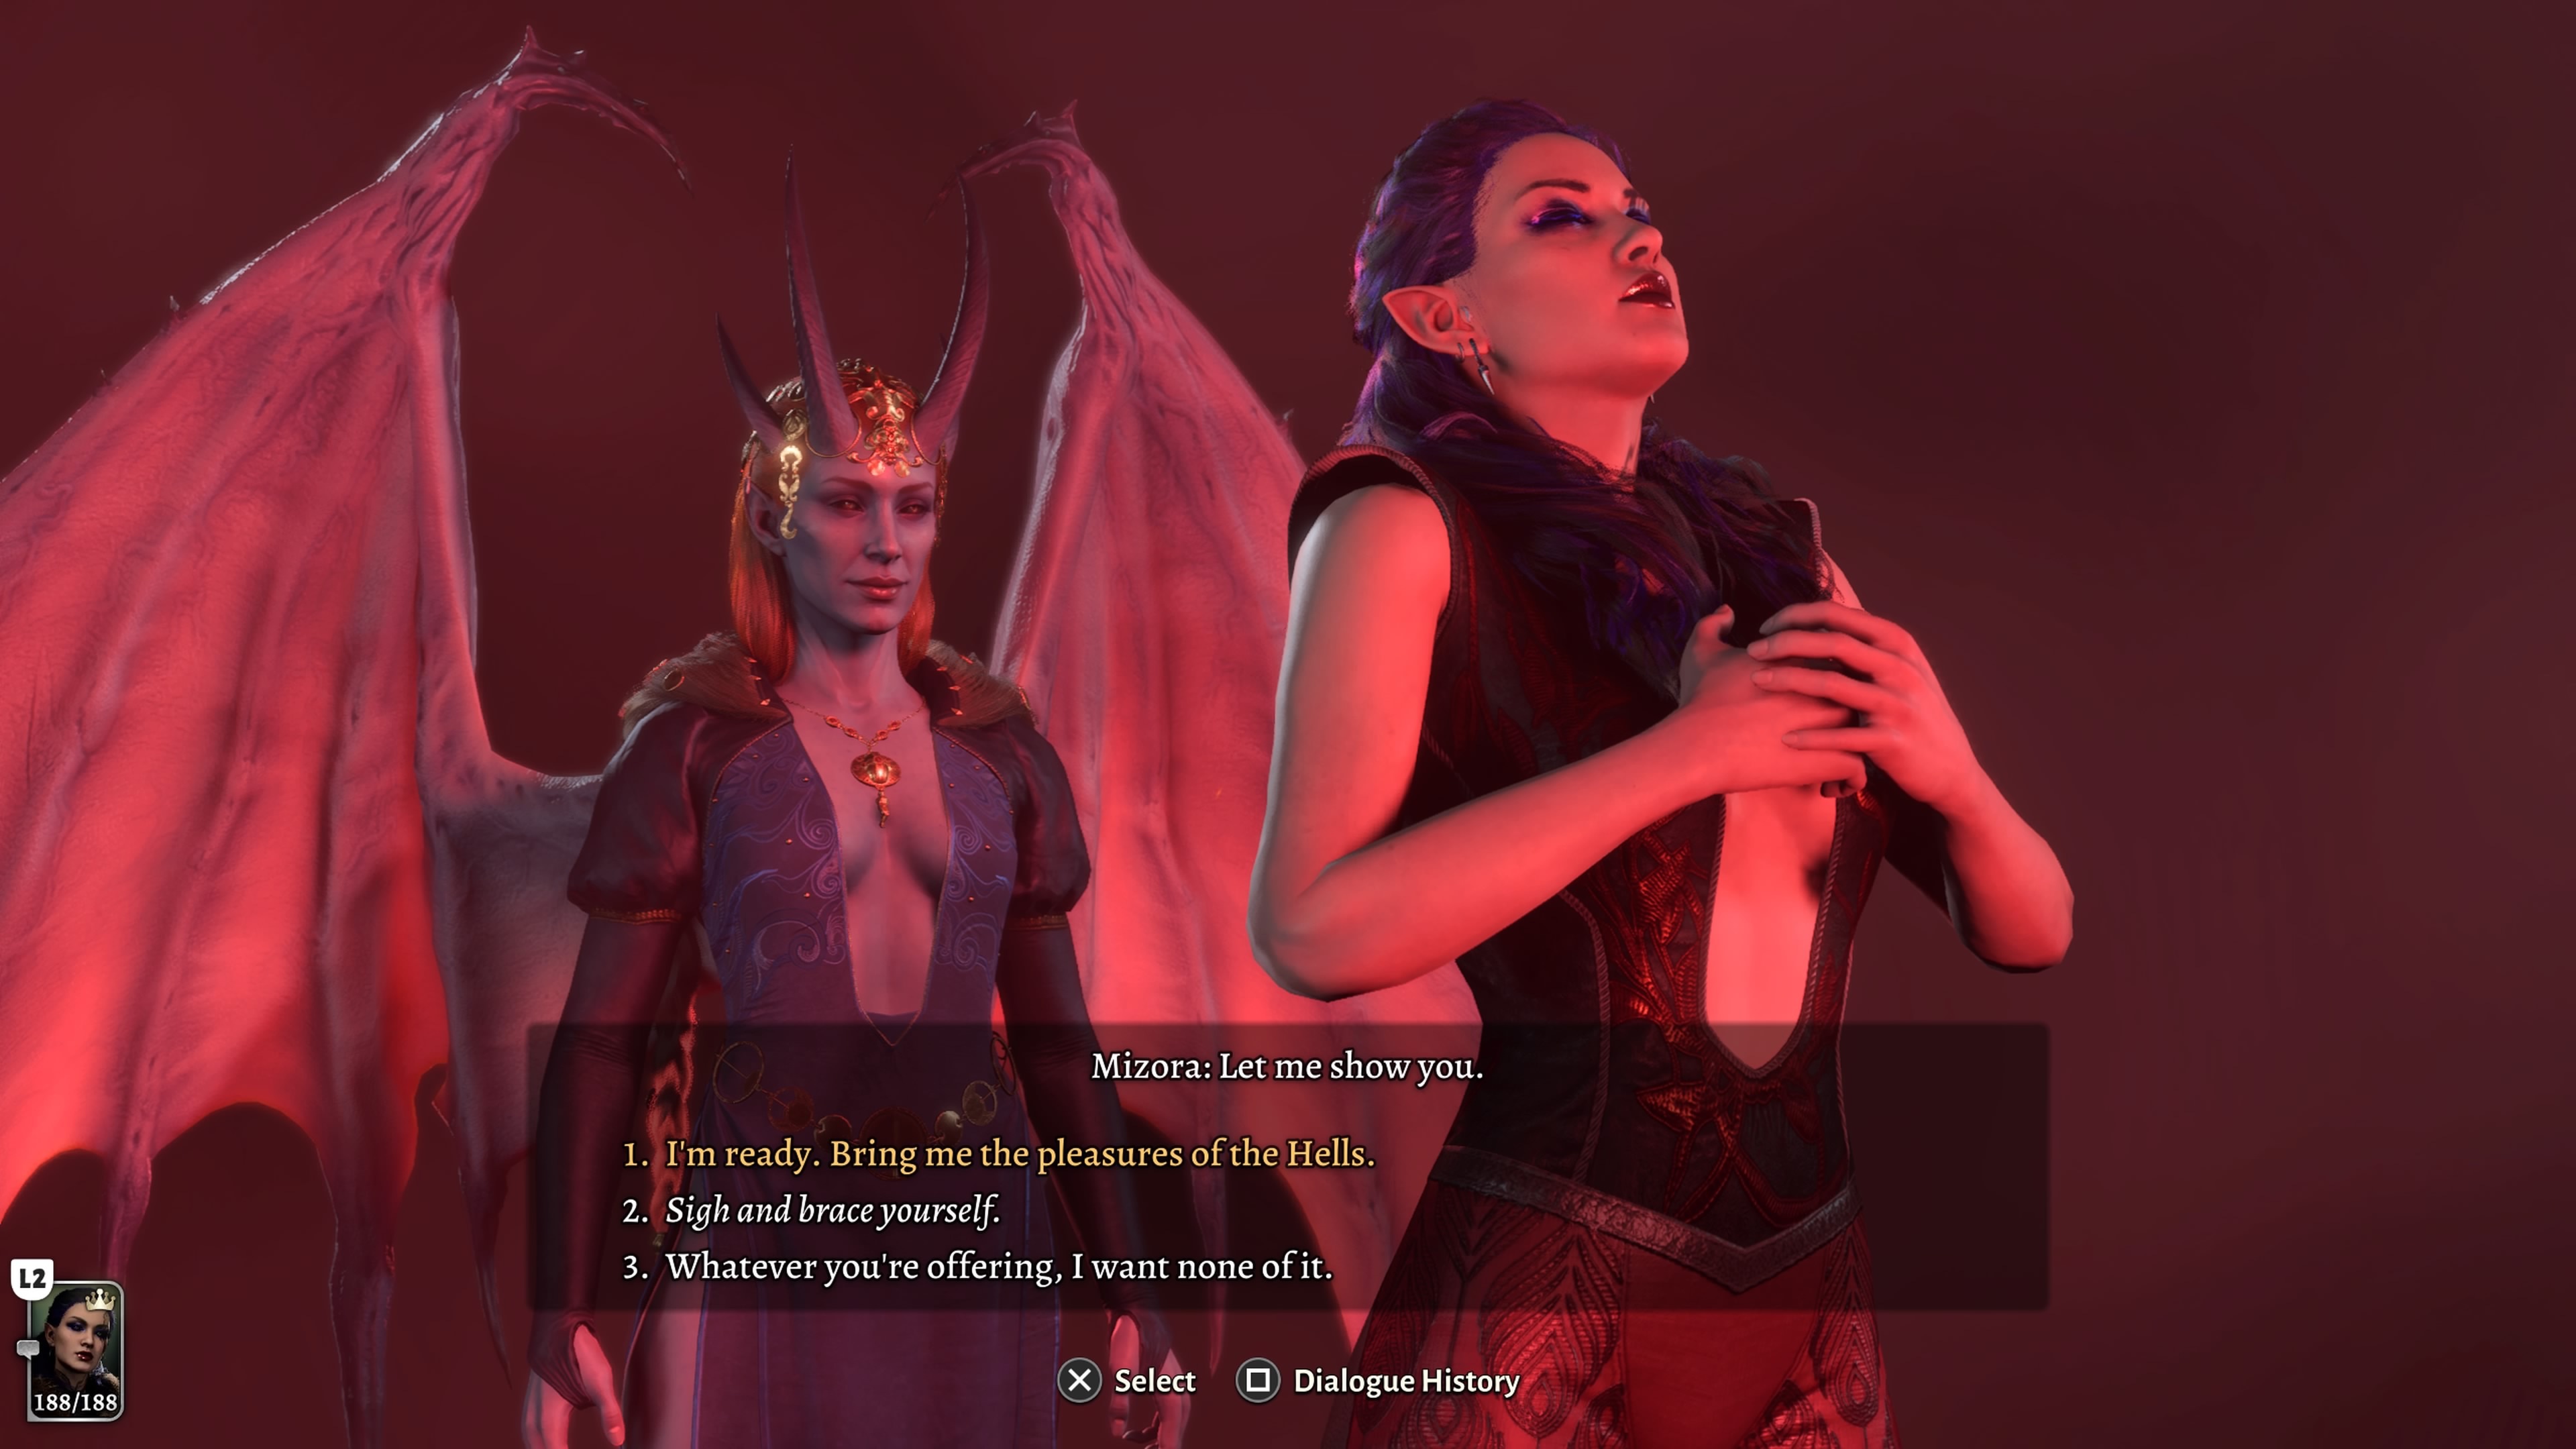
- Mizora romance: Players who choose to sleep with Mizora will soon find themselves single, as Lae’zel will immediately break up with them upon witnessing the player’s Infernal infidelity.
PSA: Don’t Try To Pry Your Destiny 2: The Final Shape Collector’s Edition Open Like Me
Destiny 2: The Final Shape may still be a few months away due to its delay, but its collector’s edition is now beginning to ship to those who preordered it. Bungie sent one our way, and while we’ve already covered the nice nostalgia-packed items it contains and some potential story implications for where things might be going, I also wish to impart a more practical tip to anyone who gets one: Keep the screwdrivers and other prying tools away.
The centerpiece of the CE is a replica of the Tower from the original Destiny. It comes with a pair of figurines representing Zavala and Ikora, which can be placed atop the Tower to hear some dialogue lines. (The quality of the speaker, it should be said, is disappointing, but it’s a minor gripe given this is going to sit silently on a shelf rather than be used to play audio.) But if you remember what was promised when preordering the thing, you know there should be a third figure, one for Cayde, who’s set to return in some capacity in The Final Shape.
Not seeing him in the box, I frantically looked through all of the packaging, thinking Cayde must have just fallen out. That produced no results, sending me back to the original product listing on the Bungie Store. There’s a tease there that got my mind grapes going: “Eido mentioned that there are messages of hope, inspiration, and wisdom that can be discovered through thorough examination of the Tower architectural replica and its accessories.”
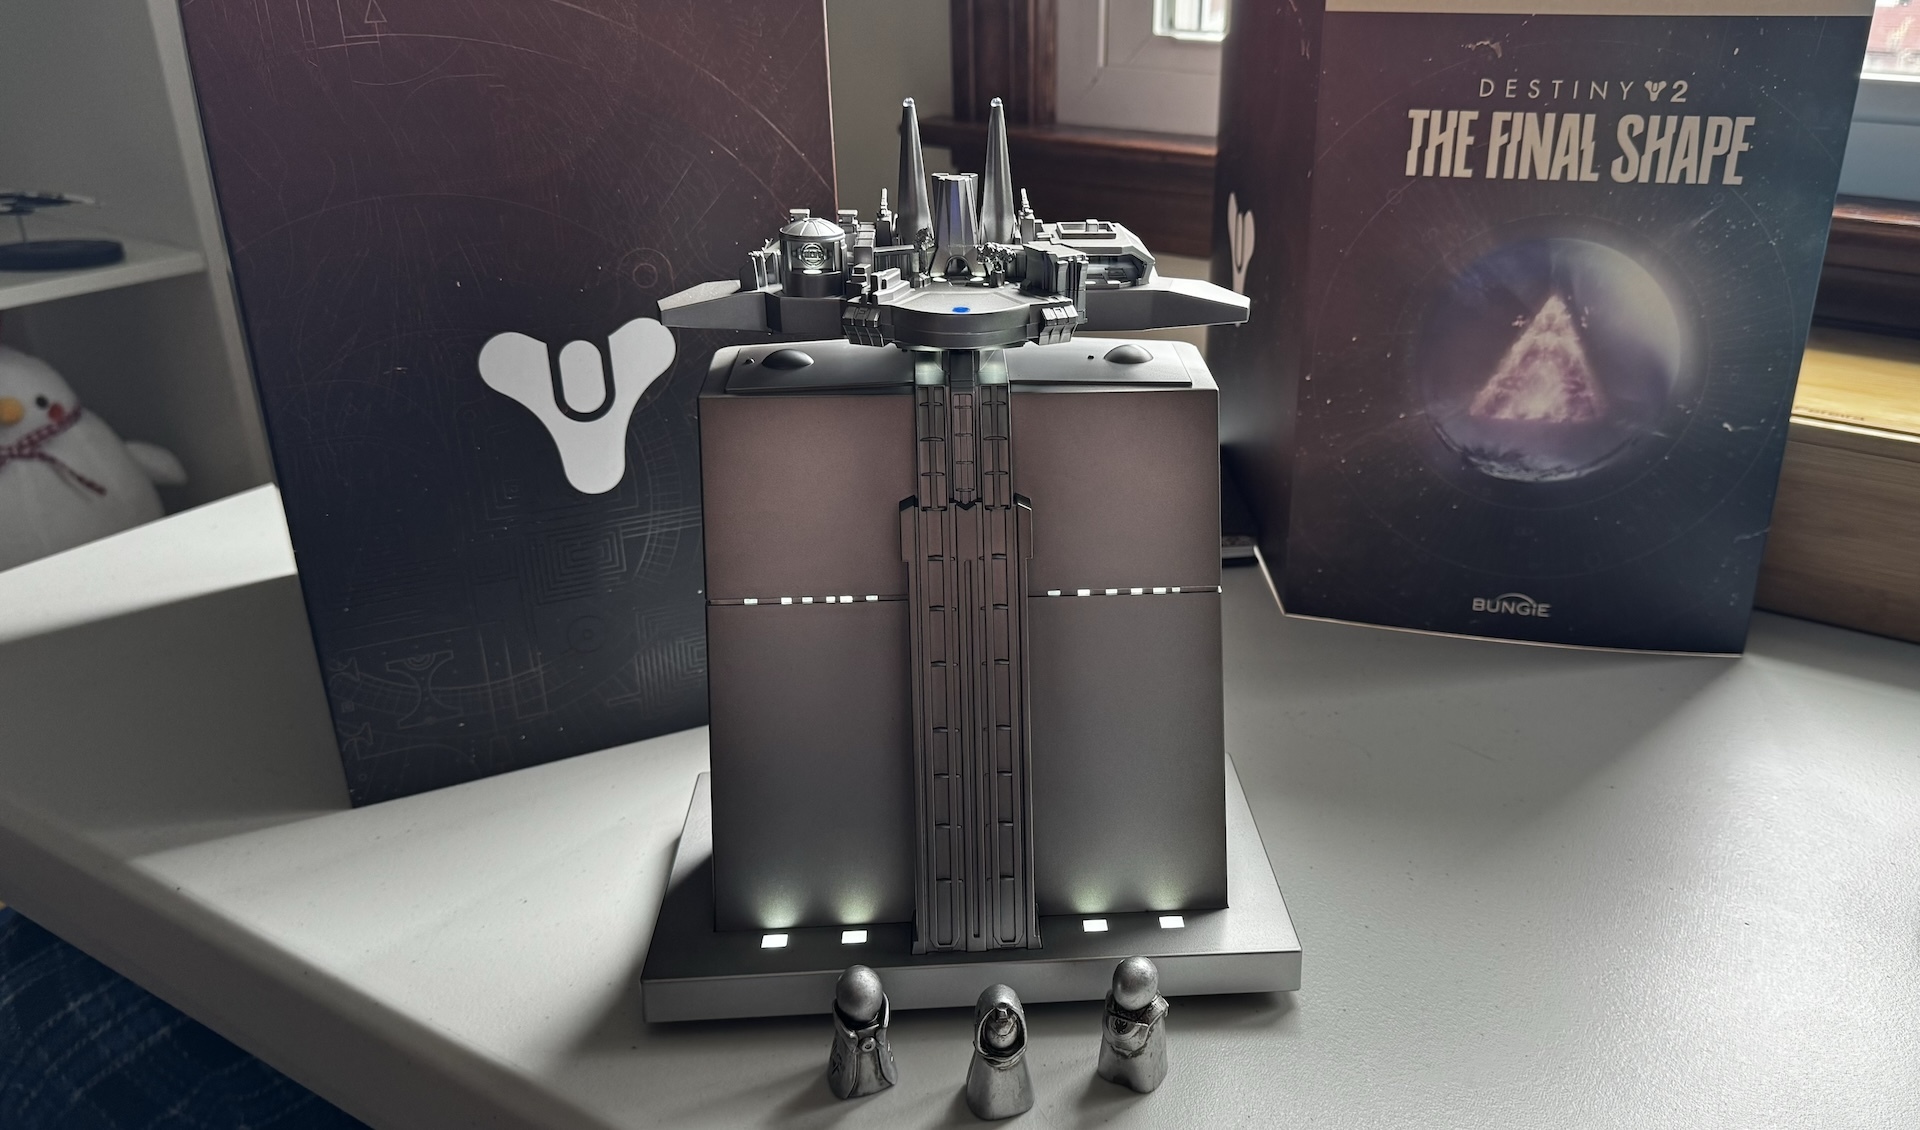
That led me to more closely examine the Tower. There are some subtle features on it–a button on the left and right side of the top area that blend right in with the architecture and which don’t stand out as inputs unless you know to look for them. Those are used to turn the Tower’s lights and sound on and switch between its modes, such as allowing it to interact with the figurines and playing some ambient music. Not finding any other buttons, I looked at the underside and back, the latter of which is home to two conspicuous panels.
One seemed to rattle when I touched it, but with no button I could find to open it, I was left wondering if it was simply a battery compartment, given that the lights and audio can function without needing to plug the collectible in.
Wanting to know if Cayde was hidden inside or if there were some other secret contained within, I felt I only had one choice: Try to pry that sucker open with a screwdriver.
At first, I used a small flathead meant for repairing glasses. I had some luck in moving the panel slightly, but it wasn’t easily coming open. I suspected I might be acting rashly–this seemed like a lot of unusual effort to get in–but I also suspected that this panel must open. And while I took a stand against exploiting Destiny’s old loot cave because of laughable moral scruples, I wasn’t about to let the possibility of a poorly made latch keep me from my precious Cayde figurine.
And so in addition to my screwdriver, I took out a tool for prying up electronics and used that to help provide further leverage. At this point, the panel was starting to come closer to letting me in, but it still wasn’t opening in the way it seemed like it should. As I was doing some minor cosmetic damage to the plastic, I began to acknowledge that I had gone down a misguided path, not unlike the decision to spend an unfortunate number of hours grinding the old Reckoning mode to get Gambit Prime armor. (At least I have those armor ornaments unlocked?)
Thinking there’s no way Bungie would have you do something like this that could damage the biggest part of a $175 collector’s edition, I stopped trying. Eventually, I had a eureka moment regarding how to open that back panel (read: GameSpot writer Phil Hornshaw told me what to do).
I’ll explain how to open it down below for those who can’t figure it out and don’t mind spoilers, but suffice it to say everything you need to do so is included in the box, as a more reasonable person than I might expect.
Overall, the collector’s edition is a neat package. The Tower is, admittedly, somewhat underwhelming at first–the box itself that everything comes in looks so good that the Tower couldn’t live up to my expectations. But it’s ultimately a piece of plastic that is just one component in this CE. As I’ve had the Tower sitting in my office, though, I’ve come to appreciate it more; the fact that it doesn’t need to be plugged in to have the lights on, and the nice dose of nostalgia it provides to commemorate the 10 years I’ve spent playing this series make me happy to have it on my shelf. And the lore tidbits contained within the accompanying items are very neat, though there are some deep cuts that might send you to look up some more obscure names. You do get word from Fenchurch, which really tickles me.
Since the Bungie layoffs and the Final Shape’s delay, I’ve been on a break from the game. But by leaning into the nostalgia I’ve accumulated from countless hours playing Destiny and Destiny 2, this CE has warmed me back up to the notion of playing again. I would undoubtedly have done so with The Final Shape being the culmination of a decade-long story, and perhaps that expansion’s narrative will disappoint me again, as Lightfall’s did. But whatever the future of it may hold, Destiny will forever remain a big part of my life, and I appreciate being able to memorialize that with a tribute to the in-game location I spent so much time in over the years.
How to open Destiny 2: The Final Shape collector’s edition’s secret compartment
First, ensure The Tower collectible is powered on by pressing the button on the left side–it’s the right of the two building tops toward the back. Then, enable Interactive mode, which you can cycle to by pressing a button on the right side. This one is located just in front of the upper gun facing the rear.
Now, keep your screwdriver far away, and instead take the Zavala figure and place him on the platform between the two towering structures with the blinking red lights. It’s on the opposite side from where the blue light is that’s used to trigger dialogue from the figurines. If you position it correctly, you’ll hear a noise and the panel will pop open. Inside, you’ll find the Cayde figurine, who can also be used to trigger dialogue by placing him on the front of the Tower, near the blue light. As an added bonus, try placing two figures there at the same time for some extra dialogue.
Destiny 2’s The Final Shape Collector’s Edition Is A 10-Year Nostalgia Trip That Might Turn Tragic
The collector’s edition for The Final Shape, the next Destiny 2 expansion and the last in its current “Light and Darkness Saga” story arc, is more a celebration of the last 10 years of Destiny 2 than it is the upcoming new content. With the story reaching its conclusion, the collector’s edition is a fond look back that’s especially rewarding if you’re steeped in Destiny 2’s lore.
Recently, though, Bungie has started to release details about Into the Light, an upcoming content drop meant to fill the months between now and The Final Shape’s launch. Looking at the trickle of information about what’s coming next in Destiny 2, it seems very possible that the fond walk down memory lane that is the collector’s edition might actually be a memorial.
The centerpiece of the collector’s edition is a light-up plastic version of the Tower, the social space where Guardians hang out–although, importantly, this isn’t the Tower in Destiny 2. This is the Tower from the original Destiny, which was wrecked during the Red War, the Cabal sneak attack that kicked off Destiny 2’s story. The Tower itself is a tiny nostalgia machine for anybody who spent four years running around the original Destiny like I did. In addition to the lights, it also plays sounds through a tinny speaker, like the ambient public address announcements like you would have hard in the game. It also comes with little figurines that represent the Vanguard leaders Zavala, Ikora, and Cayde-6 (although Cayde is hidden in a secret compartment you have to figure out how to open).
Focusing on the old Tower instead of the new one, even though we’ve been hanging out in Destiny 2’s Tower for much longer, is a pointed choice. It highlights the 10-year journey players have taken with the game and conjures up a lot of nostalgia, for a start. Placing the figurines on the Tower statue when it’s turned on will play voice lines from each Vanguard character, but they’re not current messages; they’re lines from the original game. Bungie is conjuring up the good ol’ days of the Destiny experience, both calling back to the game’s inception and reminding us of fan-favorite characters and a time before some of the harsher events and traumas were part of the story.
The recent livestream for Into the Light recasts the situation, though. Bungie’s key art for the upcoming content drop shows three Guardians fighting the usual enemies, but in a setting that is definitely normal. The image places those Guardians and their adversaries inside the Last City, the location that, with a few exceptions, has been a peaceful, protected place within the game. On the occasions that enemies have found their way past the City’s walls, it has been a very big deal. Adding even more to the dread of the scene is the original Tower, standing in the background of the image, with the ships of the Witness’s Black Fleet hovering in the sky behind.
As Bungie detailed on its recent Into the Light livestream, the upcoming Onslaught activity is all about fighting this invasion and setting up defenses to hold back enemy forces in the future, but it gives the impression that this fight is altogether more pitched than what we’ve seen in the past. It makes sense to see Bungie raising the stakes in Destiny 2 as the story careens toward its final battle with its primary villain, the Witness, but an ongoing attack within the City has major implications. This is one of the only locations where people have been able to live safely, and it’s densely populated. Fighting a war on its streets is bound to incur casualties.
Looking at it that way, it seems very possible that Bungie is using the collector’s edition to turn our attention to the Tower and the City’s inhabitants for a reason that might be something more than thinking back warmly on our time there. And that possibility makes my favorite part of the collector’s edition altogether more alarming.
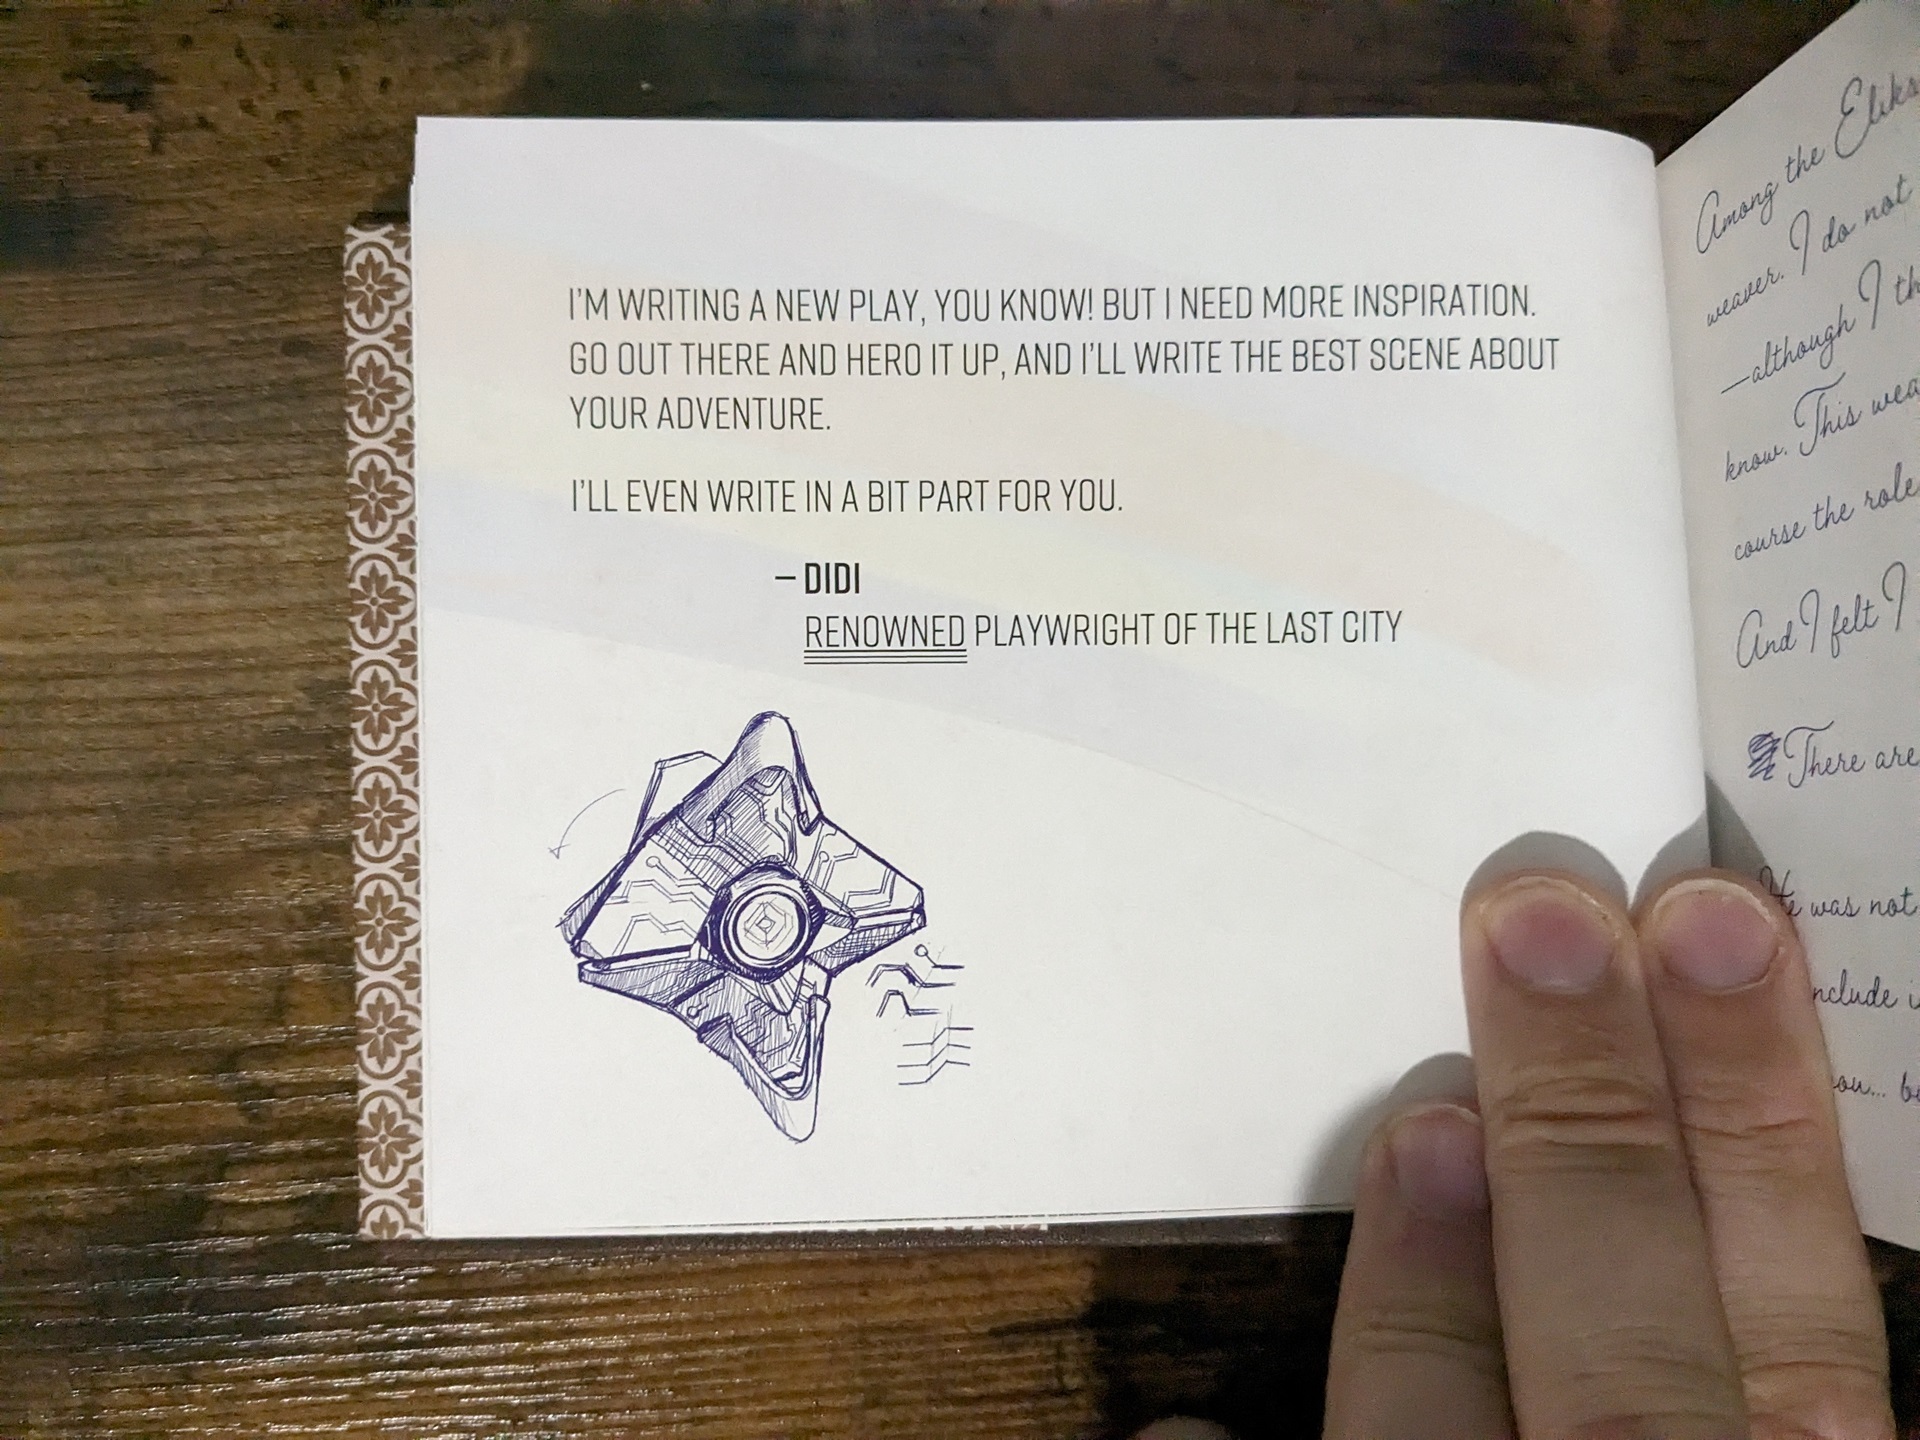
Destiny 2 CE’s often come with in-universe items that expand on the story related to that expansion. The Witch Queen CE, for example, included schematics of the new glaive weapons it added to the game, which showed the investigation in-game characters conducted in an attempt to divine its origins and understand its capabilities. The Final Shape’s collector’s edition contains a nostalgic in-universe story item similar to the Tower statue itself: an autograph book signed by and containing personal messages from various Destiny 2 characters.
The story told within the CE is that of Eido, the Scribe of House Light and an ally players worked closely with in the Season of Plunder, traveling around the solar system in hopes of compiling information about the Witness that might give you an edge in the coming battle. As she does so, she discovers an autograph book and winds up offering it to the people she speaks with to sign on your behalf, creating what is essentially a Destiny yearbook.
It’s a neat little item that, again, rewards you for being someone who pays attention to Destiny lore. There are a lot of on-screen characters in Destiny 2, but there are way more people mentioned regularly in flavor text and background stories that flesh out what’s happening in the world if you’re willing to read them. The autograph book includes a few marks attributed to characters you’ve met while playing before, but the rest is filled with messages from more obscure folks.
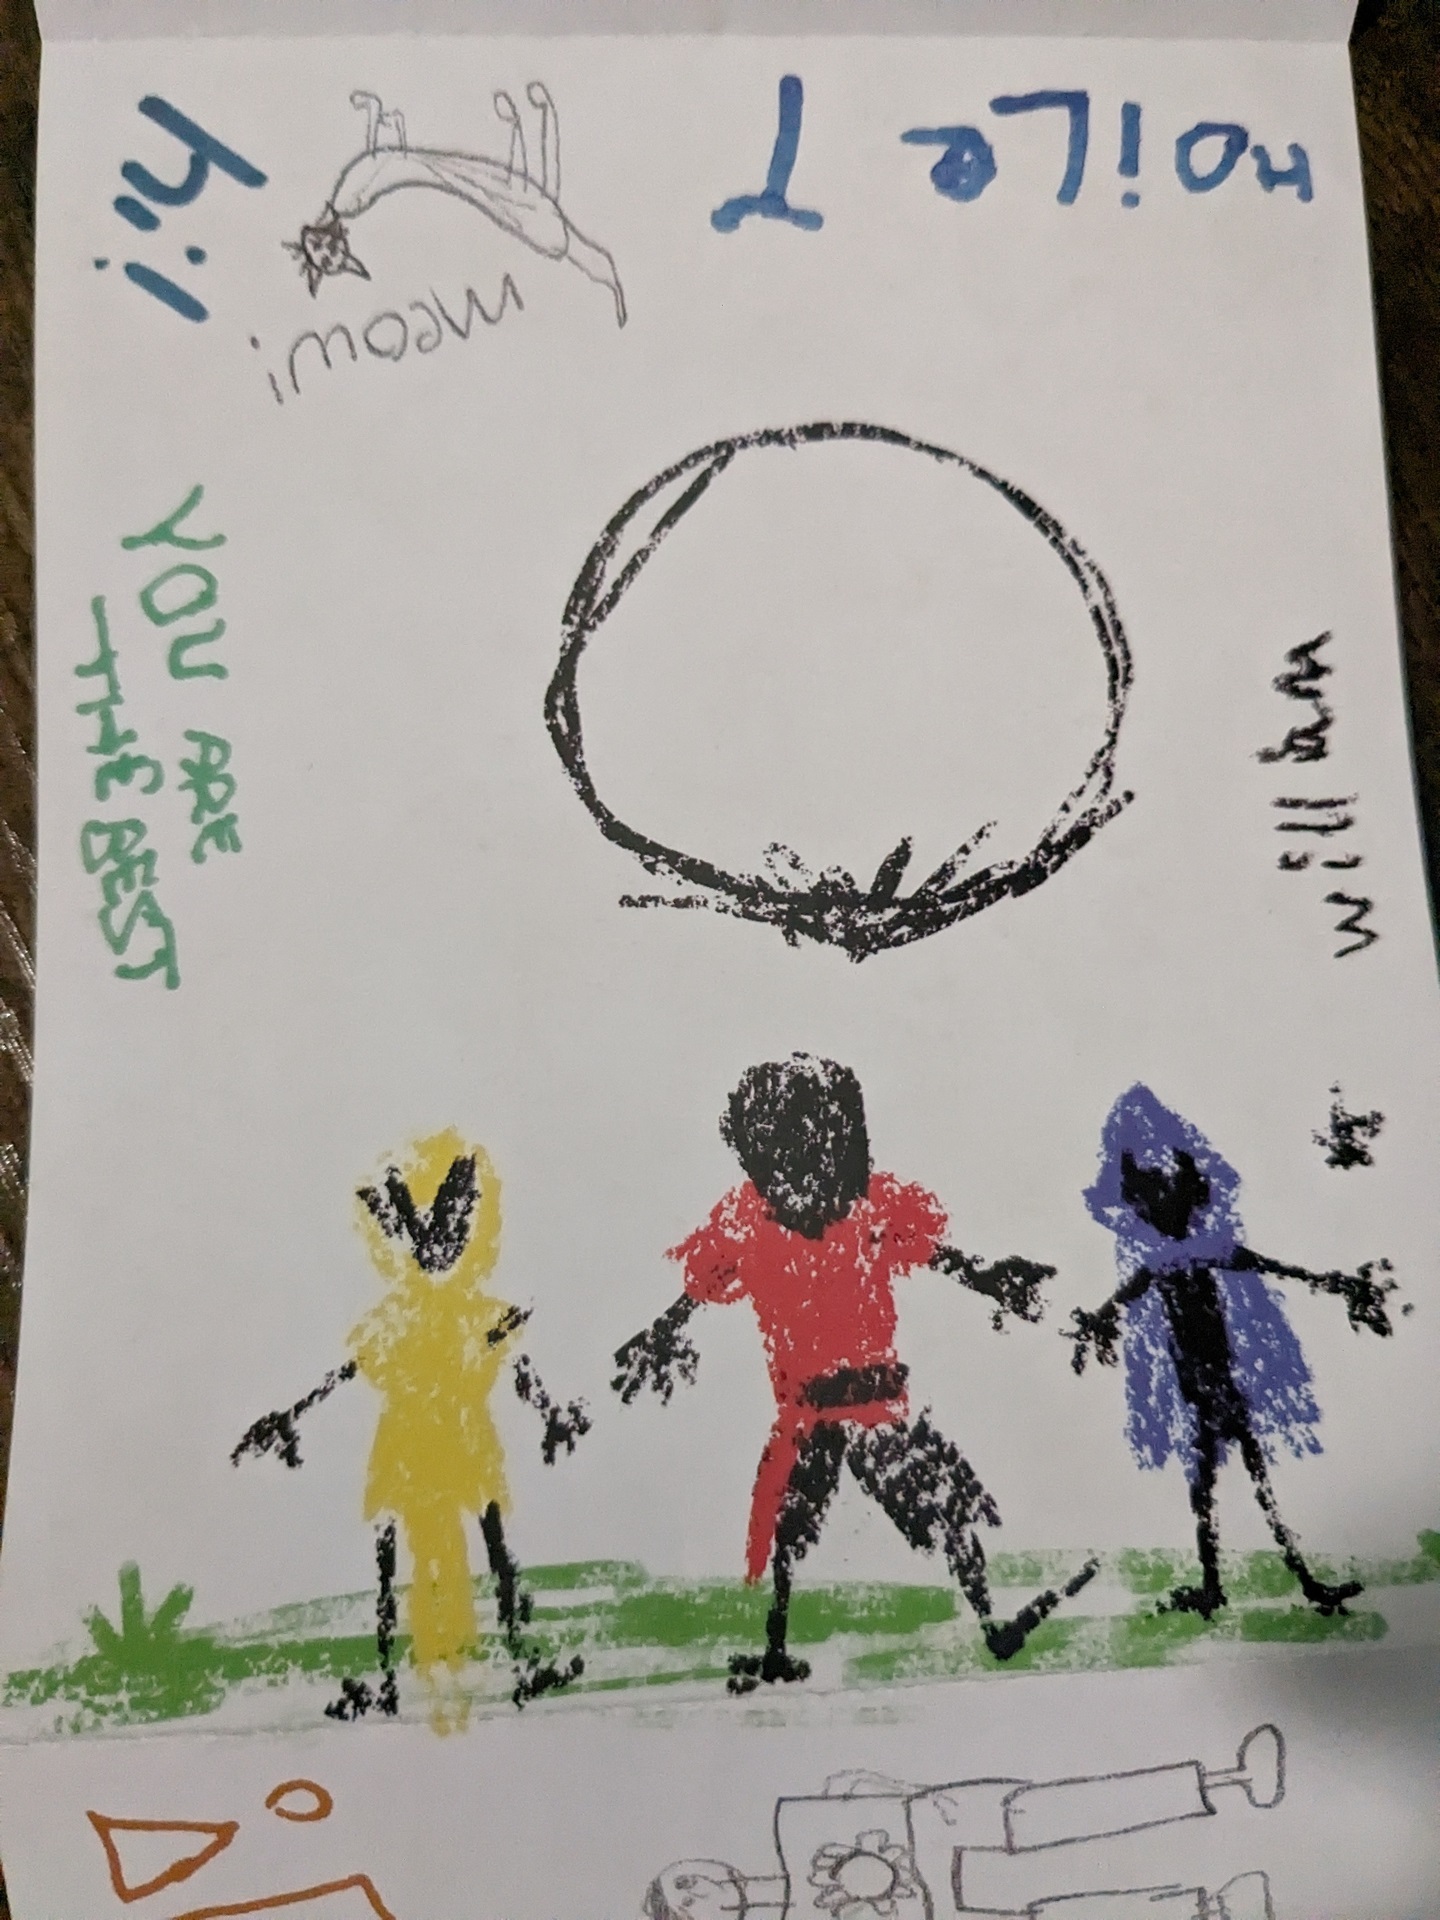
The CE goes for some decently deep cuts, too. Included are Marcus Ren, Ariadne Gris, and Enoch Bast, characters who mostly show up in relationship to Sparrow racing and whose lore has been somewhat thin since that activity ended with the original game. There’s a note from Didi, Marcus Ren’s Ghost and the focus of one of Destiny’s best-ever lore entries, “Ghost Community Theater Presents.” You get well-wishes from Chalco Yong and the rest of the Hidden agents, the spy Guardians who work for Ikora, and there’s a paw print from both Archie, the robot dog from the Season of the Seraph, and a Cabal Warbeast who the book tells us was walking the city with Lord Saladin, the Iron Banner vendor. You get word from Fenchurch, the guy Eververse vendor Tess is always talking about, alongside notes from Eliksni characters such as Niik, the Sparrow-repairing friend of Amanda Holiday. The autograph book even contains a foldout of drawings made by the children of the City that are very cute.
The autograph book helps make Destiny 2’s story feel a little more personal and real in a fun way, especially thanks to the inclusion of a few almost-real-world items, like a Polaroid of the Eliksni leader Mithrax, a character who’s become a big deal lately but who was hanging around in Destiny 2’s background for years, and a photo of the Vanguard leaders, including Cayde. There’s also a whole packet of coupons for the spicy ramen restaurant that you can walk by in the Tower and which gets frequently discussed in lore entries.
But all these nods to specific fictional people and places carry a darker undertone, too. The autograph book is an item that’s meant to make Destiny 2 feel a little bit more fleshed out and intimate, to give it a little more humanity. It brings a fun and heartwarming element to Bungie’s larger storytelling. But it’s impossible not to look at the project of humanizing off-screen characters and bringing them a little closer to center stage through the lens of what we’re learning about Into the Light, and the fact these people will soon see war coming to the streets of the Last City.
It seems very likely that the Light and Darkness Saga is going to end on a mostly high note. It’s a foregone conclusion that the players will defeat the Witness and win the day. But that doesn’t mean we’ll get there unscathed–it seems very unlikely to be the case, in fact. And that shines a significantly different light on The Final Shape’s collector’s edition for fans of Bungie’s story and world. Bungie often provides hints and subtle context about where its story is headed with material from outside of the game like this, such as its lore anthology books, and those metatextual additions and transmedia tidbits elevate Destiny’s overall storytelling in fascinating and engaging ways. The more I look at The Final Shape CE, the more it seems less like a fun nod to the past and more like a warning about the future.
This fun autograph book, full of cute messages from fictional people, might stop being nostalgic and become tragic. This Tower statue might stop being a souvenir and become a monument. That’s a pretty neat and spooky trick for some plastic stuff packed into a collector’s edition.
Final Fantasy XVI The Rising Tide DLC Releases In April
Square Enix has announced that Final Fantasy XVI’s second DLC expansion, The Rising Tide, will launch on April 18 for PlayStation 5.
Clive gets a mysterious letter stating that the long-lost Eikon of Water, Leviathan, needs to be rescued at the hidden land of Mysidia. There, he will unlock Leviathan’s water based Eikonic abilities, including Serpent’s Cry. This ability lets him summon a serpent that can deal precision strikes from a distance to his enemies.
Now Playing: FINAL FANTASY XVI – The Rising Tide DLC Release Date Trailer
The level cap will also be raised to 60 for players on Story and Action Focused difficulty modes and 110 for players on the Final Fantasy mode difficulty. Square Enix hints that while water is the eighth and final element, there might be something more for Clive to discover, as Leviathan isn’t the only power that he’ll come across.
The DLC also unlocks a new wave mode in the Kairos Gate, where Clive must survive against waves of enemies. It has 20 stages, each more one difficult than the last. Clive can earn new materials and weapons to upgrade for himself. Players can also compete on a global leaderboard to see who finishes the fastest.
Final Fantasy XVI launched in June 2023 for PS5 and its first expansion, Echoes of the Fallen, was released in December. A PC version is currently in development and in its final stages of optimization. There’s no release date for it yet, but Square Enix said to expect a demo before it launches.
In GameSpot’s Final Fantasy XVI review, we said, “FFXVI is a bold shift in both gameplay and narrative, yet captures the Final Fantasy magic in stunning fashion, earning a place within the pantheon of incredible entries in the beloved franchise.”
Baldur’s Gate 3 – How To Romance Gale
Baldur’s Gate 3 has earned enormous praise for its plethora of well-rounded, romanceable companion characters. Among those companions is the well-meaning, well-spoken, Weave-wielding Wizard Of Waterdeep, Gale Dekarios.
As a generally good-aligned character, Gale generally isn’t too much of a challenge to romance for players who are committed to a “good” playthrough, though he can be a challenge for anyone playing as The Dark Urge or otherwise planning to take the “evil” route when it comes to player choices, and there are several moments in the story that can result in him disappearing altogether. Keep reading for a guide to winning over the wordy wizard’s heart, including tips that will help you avoid having him leave your party.
Table of Contents [hide]
How To Romance Gale In Baldur’s Gate 3
Recruitment
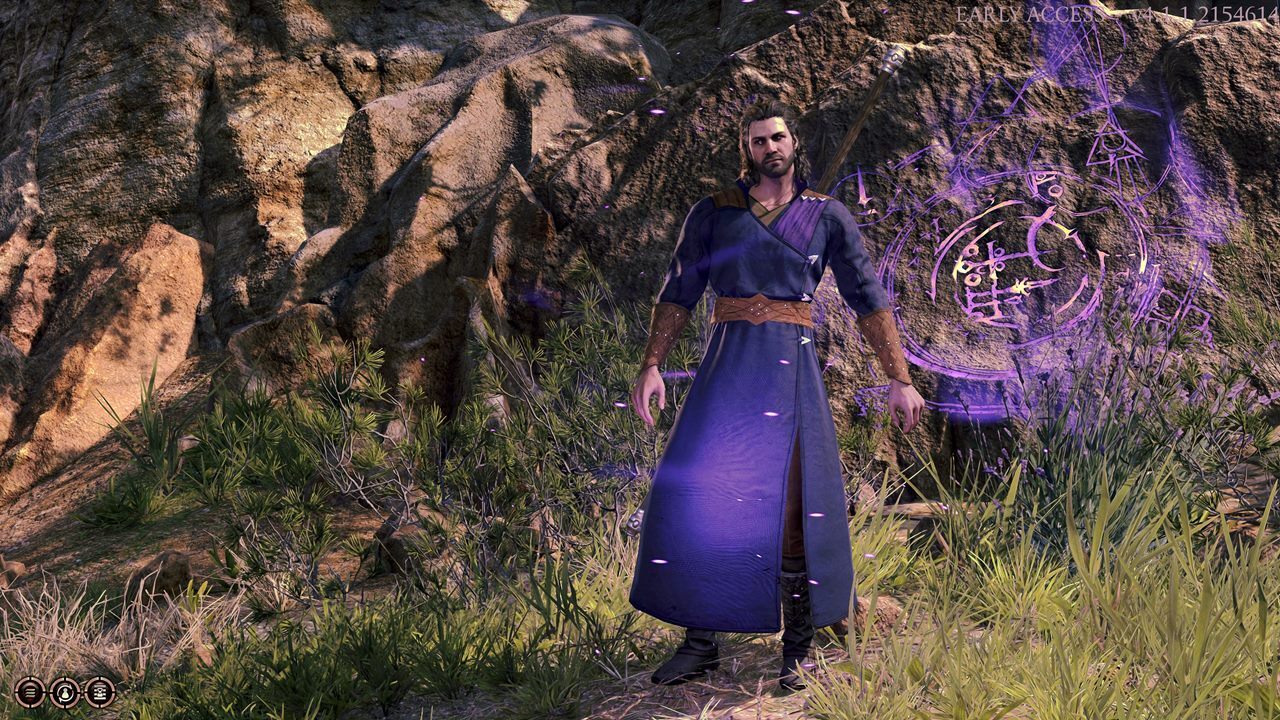
Though all Baldur’s Gate 3 companions were aboard the Nautiloid with you, only two of them can be found within it and recruited before it crash-lands in Faerûn. Once you’ve picked up Lae’zel and Shadowheart, don’t bother scouring the Nautiloid for other companions, as you won’t find any. Instead, Gale can be found at the Roadside Cliffs waypoint, close to the Nautiloid’s crash site.
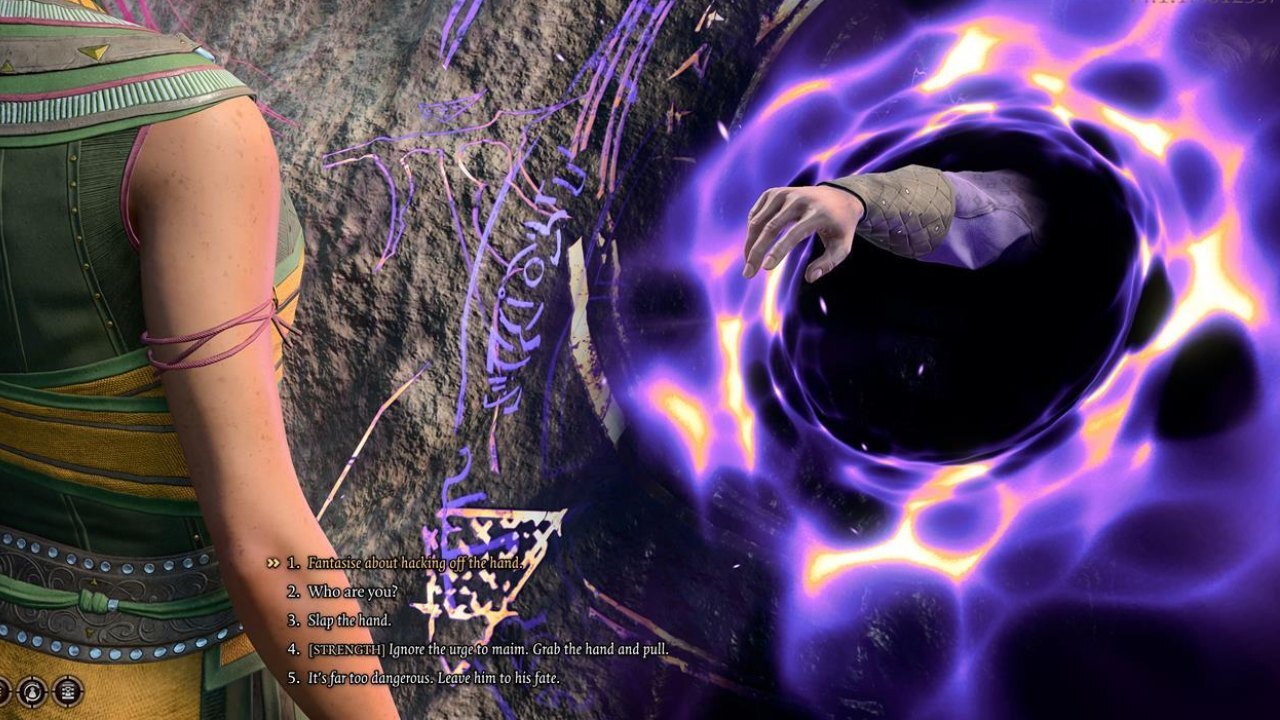
Technically, Gale can be found in the Roadside Cliffs waypoint, as he’s somehow managed to get himself stuck in the fast-travel point’s swirling purple portal. Head to the aforementioned waypoint (coordinates: X: 223 Y: 326) and keep an eye out for a portal with a hand sticking out of it. Succeed a skill check and you can pull Gale out of this portal predicament, at which point he will offer to join your party.
Note: If you are playing as The Dark Urge, you will have an additional option that allows you to fantasize about chopping off Gale’s hand. If you choose this option, the Urge will overtake you, and you’ll do far more than fantasize about it. Understandably, selecting this option results in Gale not joining your party–in fact, you won’t even see him again for the rest of the game. If your Dark Urge character wishes to woo Gale, you’ll want to start with not giving in to fantasies of dismembering him.
Approval and disapproval
Generally speaking, Gale is a pretty laid-back guy. He approves of acts of kindness and displays of selflessness. He loves magic (and talking about magic), and is, overall, someone who appreciates optimism.
Backstabbing, lying, killing innocents, expressing negative views toward magic/the Weave, and refusing to let him eat some of your enchanted belongings (yes, you read that right) will all earn you disapproval from Gale.
Act 1: Appetite suppressants
At some point after Gale has joined your party, you’ll eventually find him hunched over at camp with an exclamation mark over his head. Upon speaking to him, you’ll learn he’s suffering from an odd medical condition that could lead to disaster if not treated. Unfortunately, the only treatment for this particular ailment is allowing Gale to consume some of your magic-infused items, destroying them in the process. Gale’s condition makes up the majority of his narrative arc in Act 1, and it’s not something you want to ignore–especially if you’re planning to romance him.
Edible gear
No matter how much you like the guy, managing Gale’s magical appetite can be extremely frustrating, mainly due to the fact that Act 1 has far fewer magical items for you to stumble across than Act 2 and Act 3. But if you want to keep him in one piece–let alone romance him–you’ll have to suck it up and part with some magical items.
When it comes time to serve Gale his magic-infused meal, start a dialogue with him and let him know you have a piece of gear on hand for him to suck the life out of. Once you do that, a menu will appear, showing every “edible” item currently in your active party’s inventory. Once selected, the item will disappear, but the menu will stay open, making it extremely easy to accidentally feed Gale multiple magic items at once–something that’s not worth doing, as it won’t raise your approval score with him. Be sure to only select one item from the menu, then close it. Additionally, make sure you don’t give Gale any magic items unless he’s verbally requested one, otherwise you’ll be wasting perfectly good gear for no reason.
On the bright side, Gale only needs to “eat” a total of three enchanted items, so you won’t have to continue feeding him valuable gear once you’ve served him his third magical meal. Items Gale can consume will be marked as such, with a special note in the item’s tooltip informing you that the item is suitable for consumption.
Deciding which items to feed Gale can be a little tricky, but keep in mind that most of the gear you find in Act 1 will be entirely useless by Act 3, so letting go of three items really isn’t that big of a deal in the long run. That said, we’ve compiled a short list of items players can feed to Gale without putting themselves at a disadvantage in combat.
- Komira’s Locket
- Robe of Summer
- Cap of Curing
- Ring of Color Spray
- The Watcher’s Guide
Channeling the Weave
Once you’ve earned some approval, Gale will once again be found at camp with an exclamation mark over his head. (Thankfully, he won’t be hunched over in pain this time around.) Speak to him to take part in a cutscene that, should you wish, can turn quite romantic. Gale will teach you how to channel the Weave (or simply do so alongside you, if you’re already a magic-user), and you’ll eventually be given the opportunity to picture your heart’s desire in your mind. To officially kick off Gale’s romance, select the option to picture yourself holding Gale’s hand, or the option to picture yourself kissing him.
Act 2: Explosions and Elminster
Message from an ex
Shortly after starting Act 2, players will bump into Gale’s friend and fellow wizard, Elminster. Elminster will tell you he has a very important message for Gale. Agree to take Elminster back to camp to trigger a cutscene revealing that Gale’s ex-lover–the goddess Mystra–is willing to forgive his past failures in return for a small favor: She wants Gale to blow himself up using his Netherese orb (the thing in his chest that’s been giving him cravings for magic objects). Doing so would cause a massive explosion, killing both Gale and The Elder Brain. Talk to Gale about this revelation and you’ll earn approval (as long as you aren’t too hard on him for not being forthcoming about said Netherese orb).
Moonlit date night
Upon arriving at Moonrise Towers, players who have earned enough of Gale’s approval (and aren’t currently partnered with any other companions) will have the opportunity to take this romance to the next level. Eventually, a cutscene will occur at camp where the player sees a spectral projection of Gale standing outside his tent. Interacting with this projection will start a conversation in which Gale admits he’s fallen in love with the player. Select either the option to kiss him or the option to tell him you feel the same way, and he’ll ask you to spend the night with him. Assuming you’re receptive to his advances, you’ll get to decide what kind of lovemaking you’re in the mood for:
- Selecting the dialogue option that suggests you prefer “the real Gale” will see him conjure a bed, and the screen will fade to black after Gale and the player character climb into it together.
- Choosing to take Gale up on his offer to “make love the way gods do” will result in a much lengthier cutscene that shows Gale and the player-character making love inside the Weave itself.
At this point, Gale will consider the relationship official.
Act 3: Mysterious Mystra
Get blessed
Assuming Gale survives Act 2, he’ll be told that Mystra wishes to speak to him. Follow him to the Stormshore Tabernacle and give him some encouragement for an approval boost. (Don’t forget to accept the blessings of the five statues located inside the tabernacle while you’re there–they’ll grant characters who pray to them a special buff.)
The Crown of Karsus
Once Gale has hashed things out with his otherworldly ex-girlfriend, you’ll want to focus on finishing up his companion quest, The Wizard of Waterdeep. Failing to complete this quest will affect both your relationship with Gale and the ending of the game, so once you arrive in Baldur’s Gate, you’ll want to visit Sorcerous Sundries, a bookstore located near the Lower City Central Wall waypoint. Speak to Tolna–the woman behind the desk at the back of the first floor–and pass some skill checks to learn where the store’s most powerful magic tomes are kept.
With that knowledge in hand, head upstairs to break into Tolna’s office. Examine her bookshelf closely–one book is sticking out from the rest of them. Interact with the book to move the bookcase, revealing a secret passage to the Sorcerous Sundries vault, where you’ll find the book Gale’s looking for–The Annals of Karsus–after solving an enchanted puzzle.
Happily ever after
When you reach the game’s big finale, you’ll be presented with a choice: Give the Crown of Karsus to Gale, allowing him to ascend to godhood, or hand it over to Mystra. Giving it to Mystra results in a “good” ending for Gale. To convince him to hand over the crown, select the dialogue option that says, “This doesn’t have to be the end for us. Just forget the Crown.”
If you successfully complete The Wizard of Waterdeep questline, defeat the game’s big bad, and convince Gale to hand over the crown to Mystra, you’ll be rewarded with a special cutscene in the game’s epilogue, where Gale will come to you with a very sweet proposition. However, if the player allows Gale to sacrifice himself, gives him the crown, doesn’t complete his companion quest, or chooses an ending that effectively sees them gaining absolute power over Faerûn and everyone in it, the romance between Gale and the player will come to an end. Depending on which of these choices the player makes, Gale can:
- Not appear in the epilogue at all
- Show up acting like a completely different person and offer to make the player his “chosen,” (similar to the way Astarion acts if the player lets him ascend)
- Appear in the epilogue, but not appear in an end-game romance scene
Players shooting for a good ending will want to keep the Crown of Karsus out of Gale’s hands, while players who are aiming for an “evil” playthrough may wish to allow Gale to keep the crown and ascend to godhood.
Romances with Non-Origin Characters and NPCs
- Drow twin scene: While going through with this foursome doesn’t affect Gale’s approval, he will immediately refuse the offer. He can still be talked into participating, but if the player convinces him to take part, he’ll eventually sneak out of the room, leaving behind a magical projection of himself to take his place.
- Emperor romance: Amusingly, players who manage to romance The Emperor will always be caught by their companions. Despite how disgusted everyone looks, getting caught with The Emperor will not have any effect on approval from any companions, Gale included.
- Haarlep: Although Gale will disapprove of the player stripping down to get in bed with Raphael’s pet incubus, he won’t break up with them for it–even if they go as far as pledging their body to the winged creature in exchange for a key and some intel.
- Halsin romance: If Halsin expresses interest in the player, Gale will object. Should the player choose to romance Halsin, Gale will break up with them. It seems the wizard isn’t particularly fond of polyamory.
- Mizora romance: Players who choose to sleep with Mizora will soon find themselves single, as Gale will immediately break up with them upon witnessing the player’s Infernal bedroom escapades.
Where Is Xur Today? (March 22-26) Destiny 2 Exotic Items And Xur Location Guide
With Destiny 2 getting its very own horde mode in the form of Onslaught next month, now might be a good time to stock up on some new gear. Fortunately, intergalactic arms dealer Xur has touched down and has brought with him a fresh stock of Exotic arms and armor. Here’s where you can find Xur this week and what he has for sale.
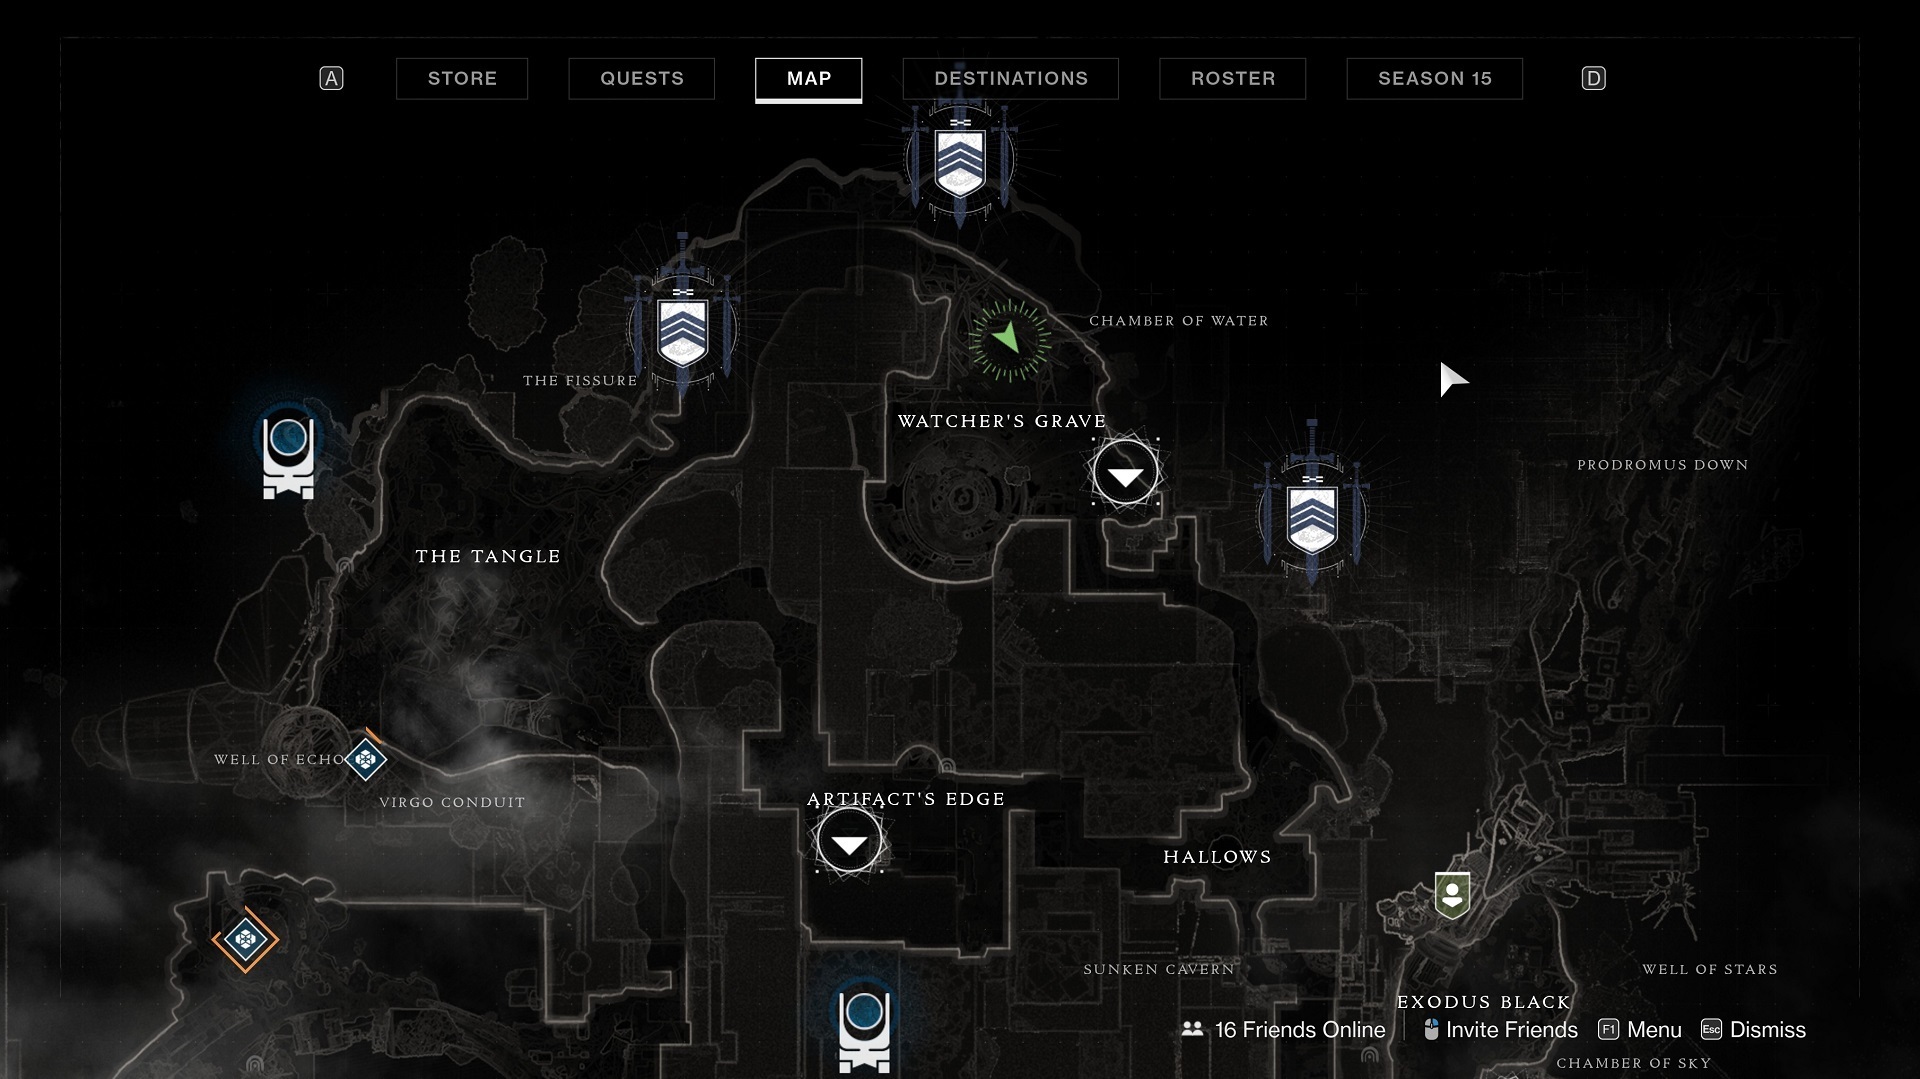
This week you can find Xur on Nessus, in The Watcher’s Grave. For his weapon, Xur is offering Prometheus Lens. Hunters can pick up Shinobu’s Vow gauntlets; Titans can grab the Stronghold arms; and Warlocks can buy the Promethium Spur leg armor.
Xur Location
Head to Nessus and use the Watcher’s Grave transmat zone to find Xur this week. When you arrive, hop on your sparrow and head north toward the exit of the area. Look for a big tree with pink moss on the right side of the area. Climb up onto its big, flat branch, where you can reach Xur.
Xur Exotic and Legendary Items
- Exotic Engram – 97 Legendary Shards
- Prometheus Lens – 29 Legendary Shards
- Stronghold – 23 Legendary Shards
- Shinobu’s Vow – 23 Legendary Shards
- Promethium Spur – 23 Legendary Shards
- Hawkmoon – 200 Legendary Shards, 125,000 Glimmer, 1 Ascendant Shard, 1 Exotic Cipher
- Xenology quest – Free
- Legendary weapons and armor – 50 Legendary Shards, 1,000 Glimmer
Xur is present every weekend in Destiny 2, starting with the daily reset at 9 AM PT / 12 PM ET each Friday. His exact location is always a mystery when he first arrives, as he is not listed on the map, and for novice players, he can be easy to miss. However, there are a set number of locations where he takes up residence, including the Tower Hangar area, on Nessus in Watcher’s Grave, and in the Winding Cove area of the EDZ.
Baldur’s Gate 3 – How To Romance Wyll
Baldur’s Gate 3 has quite a few romanceable companions, and each of them have different tastes, complex backstories, and unique takes on the difference between right and wrong. With larger-than-life fan favorite characters like Astarion and Lae’zel in the mix, it can be easy to overlook characters whose backstories aren’t bound quite as tightly to the game’s main quest, like warlock Wyll Ravengard.
Abandoned by his family after making a pact with a devil to save his city, Wyll has been through a lot, and although he’s always got a smile to spare, a closer look at his personality reveals a broken man in desperate need of human connection. Players can provide that connection, should they so wish, by romancing Wyll. If the devilishly handsome Blade Of Frontiers has caught your attention, keep reading for a guide with tips to help you win his heart.
How To Romance Wyll In Baldur’s Gate 3
Recruitment
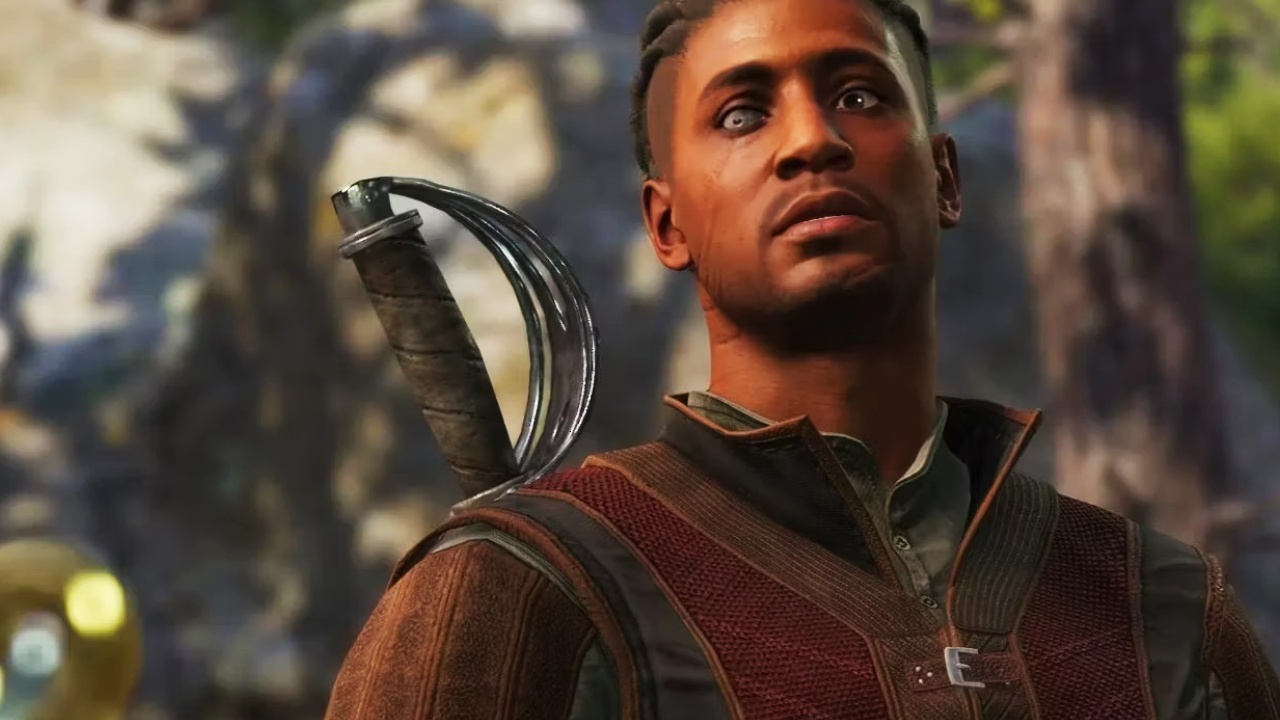
Aside from Lae’zel, Wyll is one of the easiest characters to find and recruit. Upon escaping the Nautiloid and nearing The Grove (coordinates: X: 208, Y: -33), a cutscene will trigger, giving players a quick look at Wyll before jumping into combat with him.
Thankfully, Wyll is fighting with you, not against you. Once you’ve finished off the goblins attacking The Grove, head inside the gate, walking straight until you pass a group of young tieflings being trained by Wyll. When you speak to him, he’ll mention a devil he’s hunting and agree to join your party.
Approval and disapproval
Wyll is easily the most lawful-good character in the game. Though he deeply resents Mizora, the devil he made a pact with, he’s otherwise a kind, friendly, stereotypical good guy. As such, he responds well to acts of self-sacrifice, generosity, and kindness. He disapproves of needless cruelty, and will quickly leave your party if you go around murdering innocents in front of him. Players with a moral compass that doesn’t quite point due north may wish to leave Wyll behind at camp on occasion, especially if they plan to romance him. With the exception of a few major decisions, companions who are left at camp cannot see what you get up to when they aren’t around, and thus won’t react negatively to choices they didn’t personally see you make.
Act 1: No rest for the wicked-looking
Aside from avoiding disapproval, players hoping to earn Wyll’s affections will want to focus on three things: Saving the survivors of Waukeen’s Rest, saving the refugees at The Grove, and making sure Wyll knows that the drastic changes in his appearance haven’t impacted the way you see him.
In Act 1, be sure to side with the druids and tieflings at The Grove–Wyll will immediately leave your party if you betray The Grove and side with the goblins, even if he’s not around to witness the battle. Once peace has been restored, head to Waukeen’s rest (X: -31 Y: 577), where you’ll find another settlement in dire need of your help.
Keen-eyed players may notice that the entire town is on fire and its residents are screaming for help. Once you’ve unlocked the Waukeen’s Rest waypoint, you should immediately head inside the small town and start searching for survivors. If you take a long rest after discovering Waukeen’s Rest but before looking for survivors, the town will burn to ash, and there won’t be any survivors to save. This can negatively impact Wyll’s companion questline.
The most important person to save is Counsellor Florrick. After speaking to her (and interrogating any dead bodies that are willing to talk), you’ll learn that Wyll’s father, Grand Duke Ravengard, was kidnapped by an army of goblins and drow–the same army that set Waukeen’s Rest on fire.
Heart-to-heart
Once Wyll’s approval reaches “medium,” a cutscene will play at camp. In it, Wyll will either try to play a guessing game, or talk about dancing. Regardless of which direction this dialogue goes, players will get an opportunity to kiss him. Doing so will begin Wyll’s romance.
Act 2: Daddy issues
Upon arriving at Moonrise Towers, you’ll learn that Wyll’s father has been infected with a mindflayer tadpole. Unlike you, Wyll, and the rest of your companions, Duke Ravengard does not have someone protecting him from the tadpole’s worst side effects, so saving him before he turns into a Mind Flayer is probably a good idea.
Dance in the dark
At some point, Wyll’s patron, Mizora, will show up and start causing trouble. Reassuring Wyll that he’s still the same man he’s always been will earn some approval points, and eventually, the player will stumble upon him practicing a dance. He’ll offer to dance with the player-character, and skill checks will determine how said dancing goes. But whether you twirl with grace or fall flat on your face, Wyll will be amused, and eventually, another opportunity to kiss him will pop up. Once you lock lips, the relationship is considered “official.”
Act 3: Fairytale ending
Once you’ve finished Wyll’s companion quest, helped him face his past, and gained enough approval, Wyll will take you to a place he remembers from childhood. As you sit on the river bank together, Wyll will ask for your hand in marriage. Players can accept the proposal, which will lead to a romance scene, but if you’d like to maintain your relationship with Wyll while declining his proposal, you’ll need to pass a DC 20 charisma or persuasion check.
Romances with Non-Origin Characters and NPCs
- Drow twin scene: Wyll will decline to engage in the proposed foursome, and there is no dialogue option for players to convince him. However, players can choose to sleep with one of the drow twins alone, and their relationship status with Wyll won’t be affected.
- Emperor romance: Players who manage to romance The Emperor will always be caught by their companions. Despite how immensely grossed-out everyone looks, getting caught with The Emperor will not have any effect on approval from any companions, including Wyll.
- Haarlep: Wyll will disapprove of the player undressing at Haarlep’s request, and will also disapprove if the player pledges their body to the incubus. Stil, actually sleeping with Haarlep will have no effect on Wyll’s approval, nor will he break up with you.
- Halsin romance: If Halsin expresses interest in the player, Wyll will object. If the player proceeds to sleep with Halsin anyway, their relationship with Wyll will automatically end.
- Mizora romance: Players who choose to sleep with Mizora will immediately find themselves single. Understandably, Wyll isn’t particularly pleased with the idea of his partner getting intimate with the devil who ruined his life. If you decide to play with fire (and then sleep with it), a heartbroken Wyll will end the relationship the following morning, and you will not be given any dialogue options that allow you to try and convince Wyll to stay.
Corsair Power Supplies, Liquid Coolers, And More Discounted In Amazon Big Spring Sale
Amazon’s Big Spring Sale ends on March 25, so you still have a bit of time to cash in on the deals. The event doesn’t include a ton of gaming and tech products, but there are some quality deals. For instance, a bunch of Corsair PC components are currently discounted to some of the best prices of 2024. Whether you need a new liquid cooler, power supply, or another headset, a bit of everything is on sale at Amazon.
PC components are a big part of Corsair’s discounted catalog. One of the best price cuts is for the Corsair iCUE H150i Elite LCD XT Liquid CPU Cooler, which is now just $232 (down from $290). You’ll also find the Corsair iCUE H100i Elite Capellix XT Liquid CPU Cooler for $123 (down from $180) and the Corsair RM1200x Shift Fully Modular ATX Power Supply for $190 (down from $230)–so give them a look if you’re building or upgrading your gaming rig.
As for accessories, the popular Corsair K70 Max RGB Magnetic Mechanical Wired Gaming Keyboard is getting a generous $50 price cut. Listed for just $180, the premium keyboard features adjustable actuation MGX Switches, allowing them to activate anywhere from 0.4mm to 3.6mm. You’ll also get a palm rest for improved ergonomics. And since this matches its lowest-ever price, it’s an easy recommendation for anyone seeking a luxurious mechanical keyboard.
Plenty of other great Corsair products are discounted at Amazon right now, and you’ll find our favorite deals below.
Best Corsair Deals at Amazon
For more Big Spring Sale deals at Amazon, check out our roundups below:
Amazon Big Spring Sale deals
All New Stardew Valley 1.6 Crafting Recipes
Stardew Valley is the ever-expanding farming game gift that just keeps on giving, with solo developer Eric “ConcernedApe” Barone releasing free content-packed updates years following the indie gem’s initial release date. The recent Stardew Valley 1.6 update is one of the game’s most notable yet, featuring exciting additions such as various new crafting recipes. If you’re a completionist and already have that impressive Craft Master achievement under your belt, you’re likely looking forward to conjuring up the product of each new 1.6 recipe.
You start with access to just ten recipes when you first play Stardew Valley despite there being over a hundred total, leaving you to learn the rest by developing relationships with the townsfolk, leveling up to gain skills, or simply purchasing them from shops. The crafting menu itself is thankfully easy to navigate, integrated into the game’s pause menu under the icon that looks like a hammer. To find out a recipe’s required ingredients, all you need to do is mouse over the item you’re interested in crafting. Once you have the materials you need handy, you only have to click once to craft.
Some Stardew Valley recipes may require a more complicated set of materials to craft than others do, but anything you need is available somewhere within the confines of the town or its neighboring regions. The same applies to the new 1.6 crafting recipes, of which there are quite a few. Whether you’re a hardened farmer-turned-crafter hoping to once more master every in-game recipe or are more of a casual crafter just looking to learn what items are now available to make, here are all of the new Stardew Valley 1.6 crafting recipes.
Stardew Valley 1.6 Crafting Recipes
Here are all of the new Stardew Valley update 1.6 crafting recipes, from the Anvil to the Text Sign. You’ll find each item listed in alphabetical order, as well as its required materials and what you’ll have to do to unlock its corresponding recipe. Some of the recipes require a certain skill level, whether that be fishing or otherwise, while others simply require you to purchase them directly from one of the townsfolk’s shops.
| Item | Materials | Recipe Requirements |
|---|---|---|
| Anvil | Iron Bar x50 | Combat Mastery Totem |
| Bait Maker | Coral x3, Iron Bar x3, Sea Urchin x1 | Level 6 in Fishing Skill |
| Big Chest | Copper Bar x2, Wood x120 | Buy from Robin for 5,000 Gold |
| Blue Grass Starter | Buy from Qi’s Walnut Room | |
| Challenge Bait | Bone Fragment x5, Moss x2 | Fishing Mastery Totem |
| Dehydrator | Clay x2, Fire Quartz x1, Wood x30 | Buy from Pierre for 10,000 Gold |
| Deluxe Bait | Bait x5, Moss x2 | Level 4 in Fishing |
| Deluxe Worm Bin | Moss x30, Worm Bin x1 | Level 8 in Fishing |
| Fish Smoker | Cave Jelly x1, Hardwood x10, River Jelly x1, Sea Jelly x1 | Buy from Willy for 10,000 Gold |
| Heavy Furnace | Mining Mastery Totem | |
| Mannequin | ||
| Mini-Forge | Combat Mastery Totem | |
| Moss Soup | Moss x20 | Cookhouse Kit or Kitchen |
| Mushroom Log | Hardwood x10, Moss x10 | |
| Mystic Tree Seed | Acorn x5, Mahogany Seed x5, Maple Seed x5, Pine Cone x5 | Foraging Mastery Totem |
| Sonar Bobber | Iron Bar x1, Refined Quartz x2 | Level 6 in Fishing |
| Statue Of Blessings | Fiber x999, Moss x333, Sap x999, Stone x999 | Farming Mastery Totem |
| Statue Of The Dwarf King | Iridium Bar x20 | Mining Mastery Totem |
| Tent Kit | Cloth x1, Fiber x25, Hardwood x10 | Level 8 in Foraging |
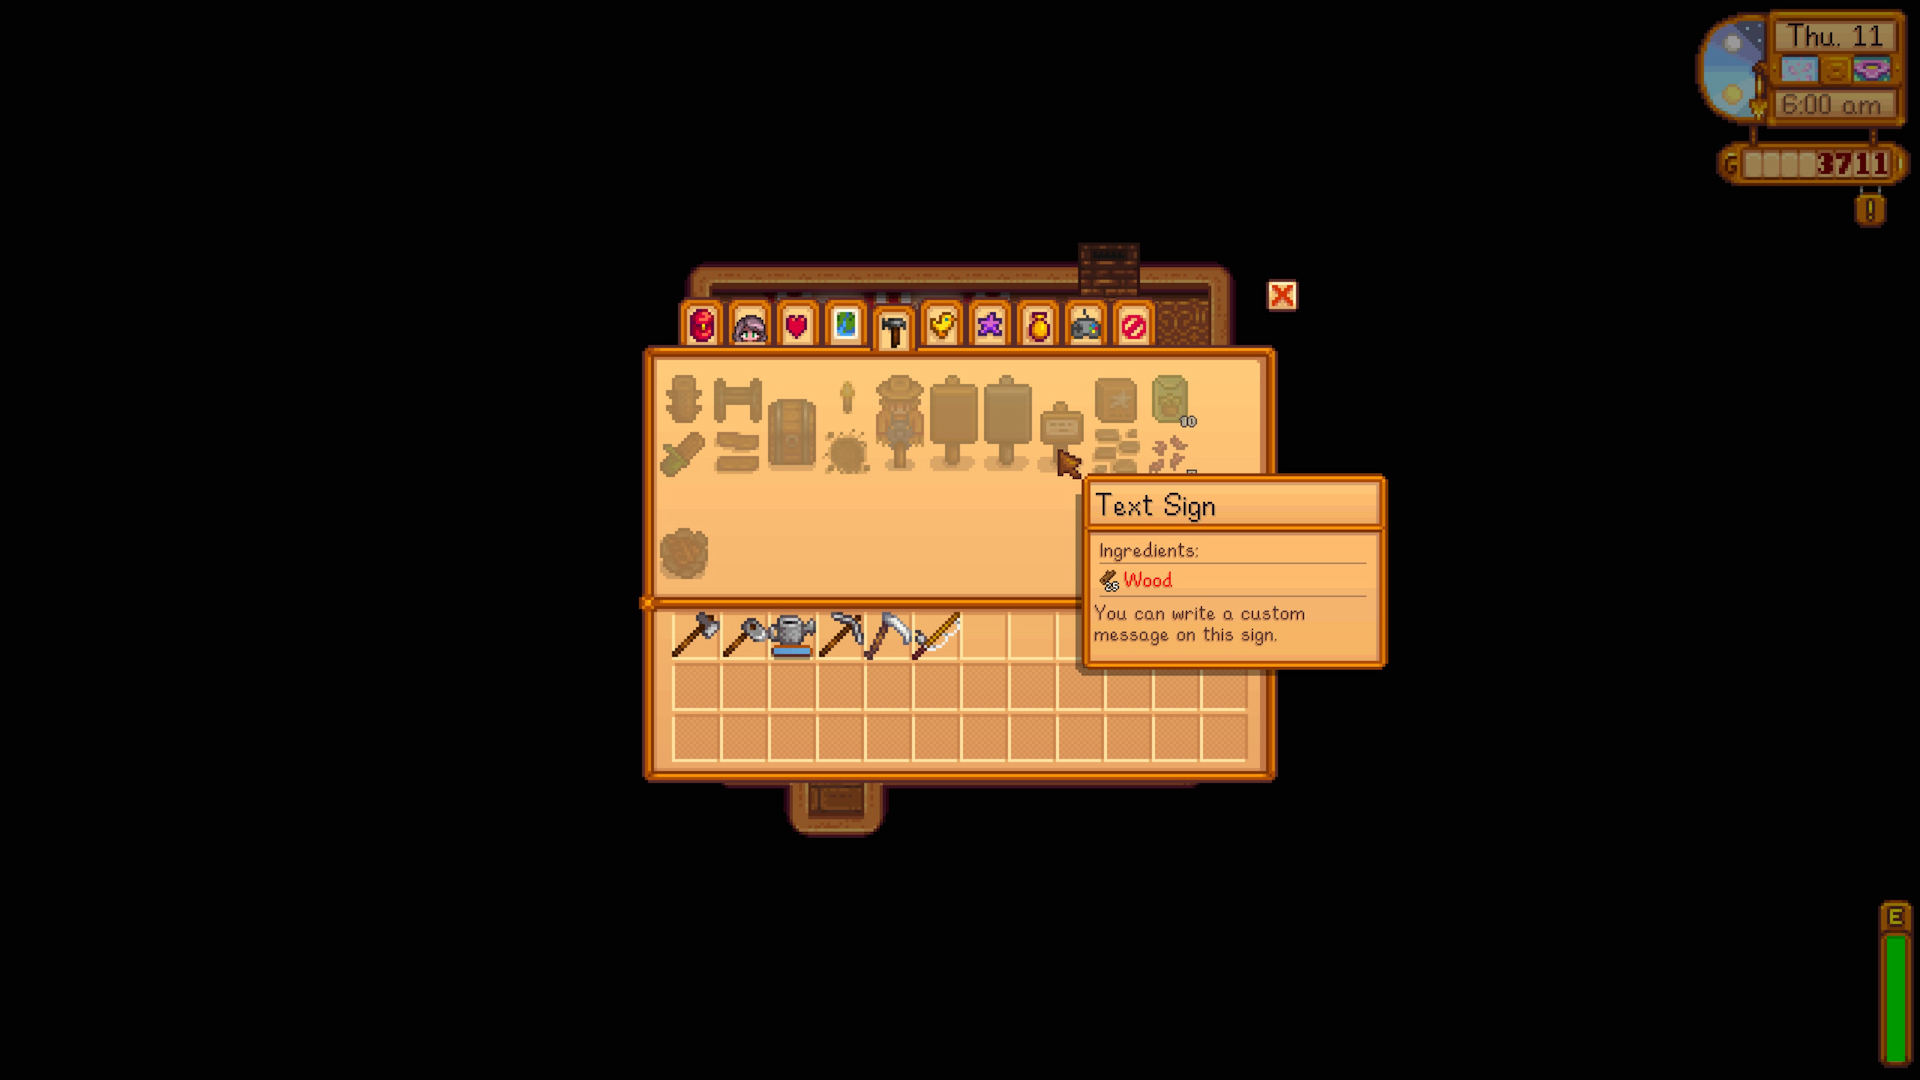
| Text Sign | Wood x25 | None |
We’re adding more details and recipes here as we discover them, so stay tuned. For more on the big update, here’s everything new in Stardew Valley 1.6, including the full patch notes.
One Piece Creator Is Taking A Short Break, Will Figure Out What The One Piece Is
One Piece creator Eiichiro Oda is taking a brief–and well-deserved–break from next week, leaving One Piece on a brief hiatus of three weeks. In a statement, Oda reassured fans that he is “not unwell” and he’ll be spending this time off recuperating and figuring out a very important plot point of his One Piece manga series.
“I am not unwell. And while it does have to do with my body, consider this a type of scheduled maintenance rather than anything else,” Oda wrote (via the official One Piece X/Twitter account. “More importantly, I think it’s time I start figuring out what the One Piece actually is! That’s going to keep me quite busy, I’ll have you know. [It] sounds severe but it’s no big deal.”
Here is the official translation. “#ONEPIECE” will be suspended for 3 weeks after being published in “Weekly Shonen Jump” issue 17 (Mar. 25th JST)
Apologizing for keeping readers waiting and it will restart with issue 21 released on April 22nd. pic.twitter.com/xjuhir4Oq6
— ONE PIECE スタッフ【公式】/ Official (@Eiichiro_Staff) March 21, 2024
In the lore of the manga series, the One Piece is currently thought to be all the treasure possessed by the legendary Pirate King Gol D. Roger, and part of it is said to have once belonged to Joy Boy during the infamous Void Century. Reportedly buried on the final island of the Grand Line, this treasure has been the driving force for pirates in the years since Roger’s execution, and whoever claims it will officially be recognized as the next Pirate King.
Series protagonist Monkey D. Luffy and his crew are in pursuit of the One Piece, but it has never been explicitly explained what it is exactly. In previous interviews, Oda explained that the treasure is real and not something metaphorical like the journey to reach it.
One Piece has had several breaks over the decades that it has been in publication, as Oda’s schedule to produce weekly chapters became infamous for just how much time he’d spend working on the series. Between writing, plotting, drawing, and editing the manga, Oda has very little free time to himself.
This isn’t unique to Oda, as Hunter x Hunter creator Yoshihiro Togashi has taken frequent breaks due to ongoing issues with his back and hips, while Vagabond’s Takehiko Inoue stepped away from the series to focus on his mental wellbeing. In the last few years, the manga world has also been shocked by the sudden deaths of several creators, including Dragon Ball creator Akira Toriyama.
One Piece is currently in its final major arc and more than 1,100 chapters of the manga have been published to date. Beyond the printed page, a One Piece anime remake from the studio behind Spy X Family is in development and Netflix is producing a second season of its live-action One Piece series.